|
|
You are here: Panda Wiki>Target/ClusterJetTarget Web>WebHome (2017-03-07, BenjaminHetz)Edit Attach
Welcome to the Target/ClusterJetTarget web
ClusterJetTarget related topics
Available Information
Pictures
 |
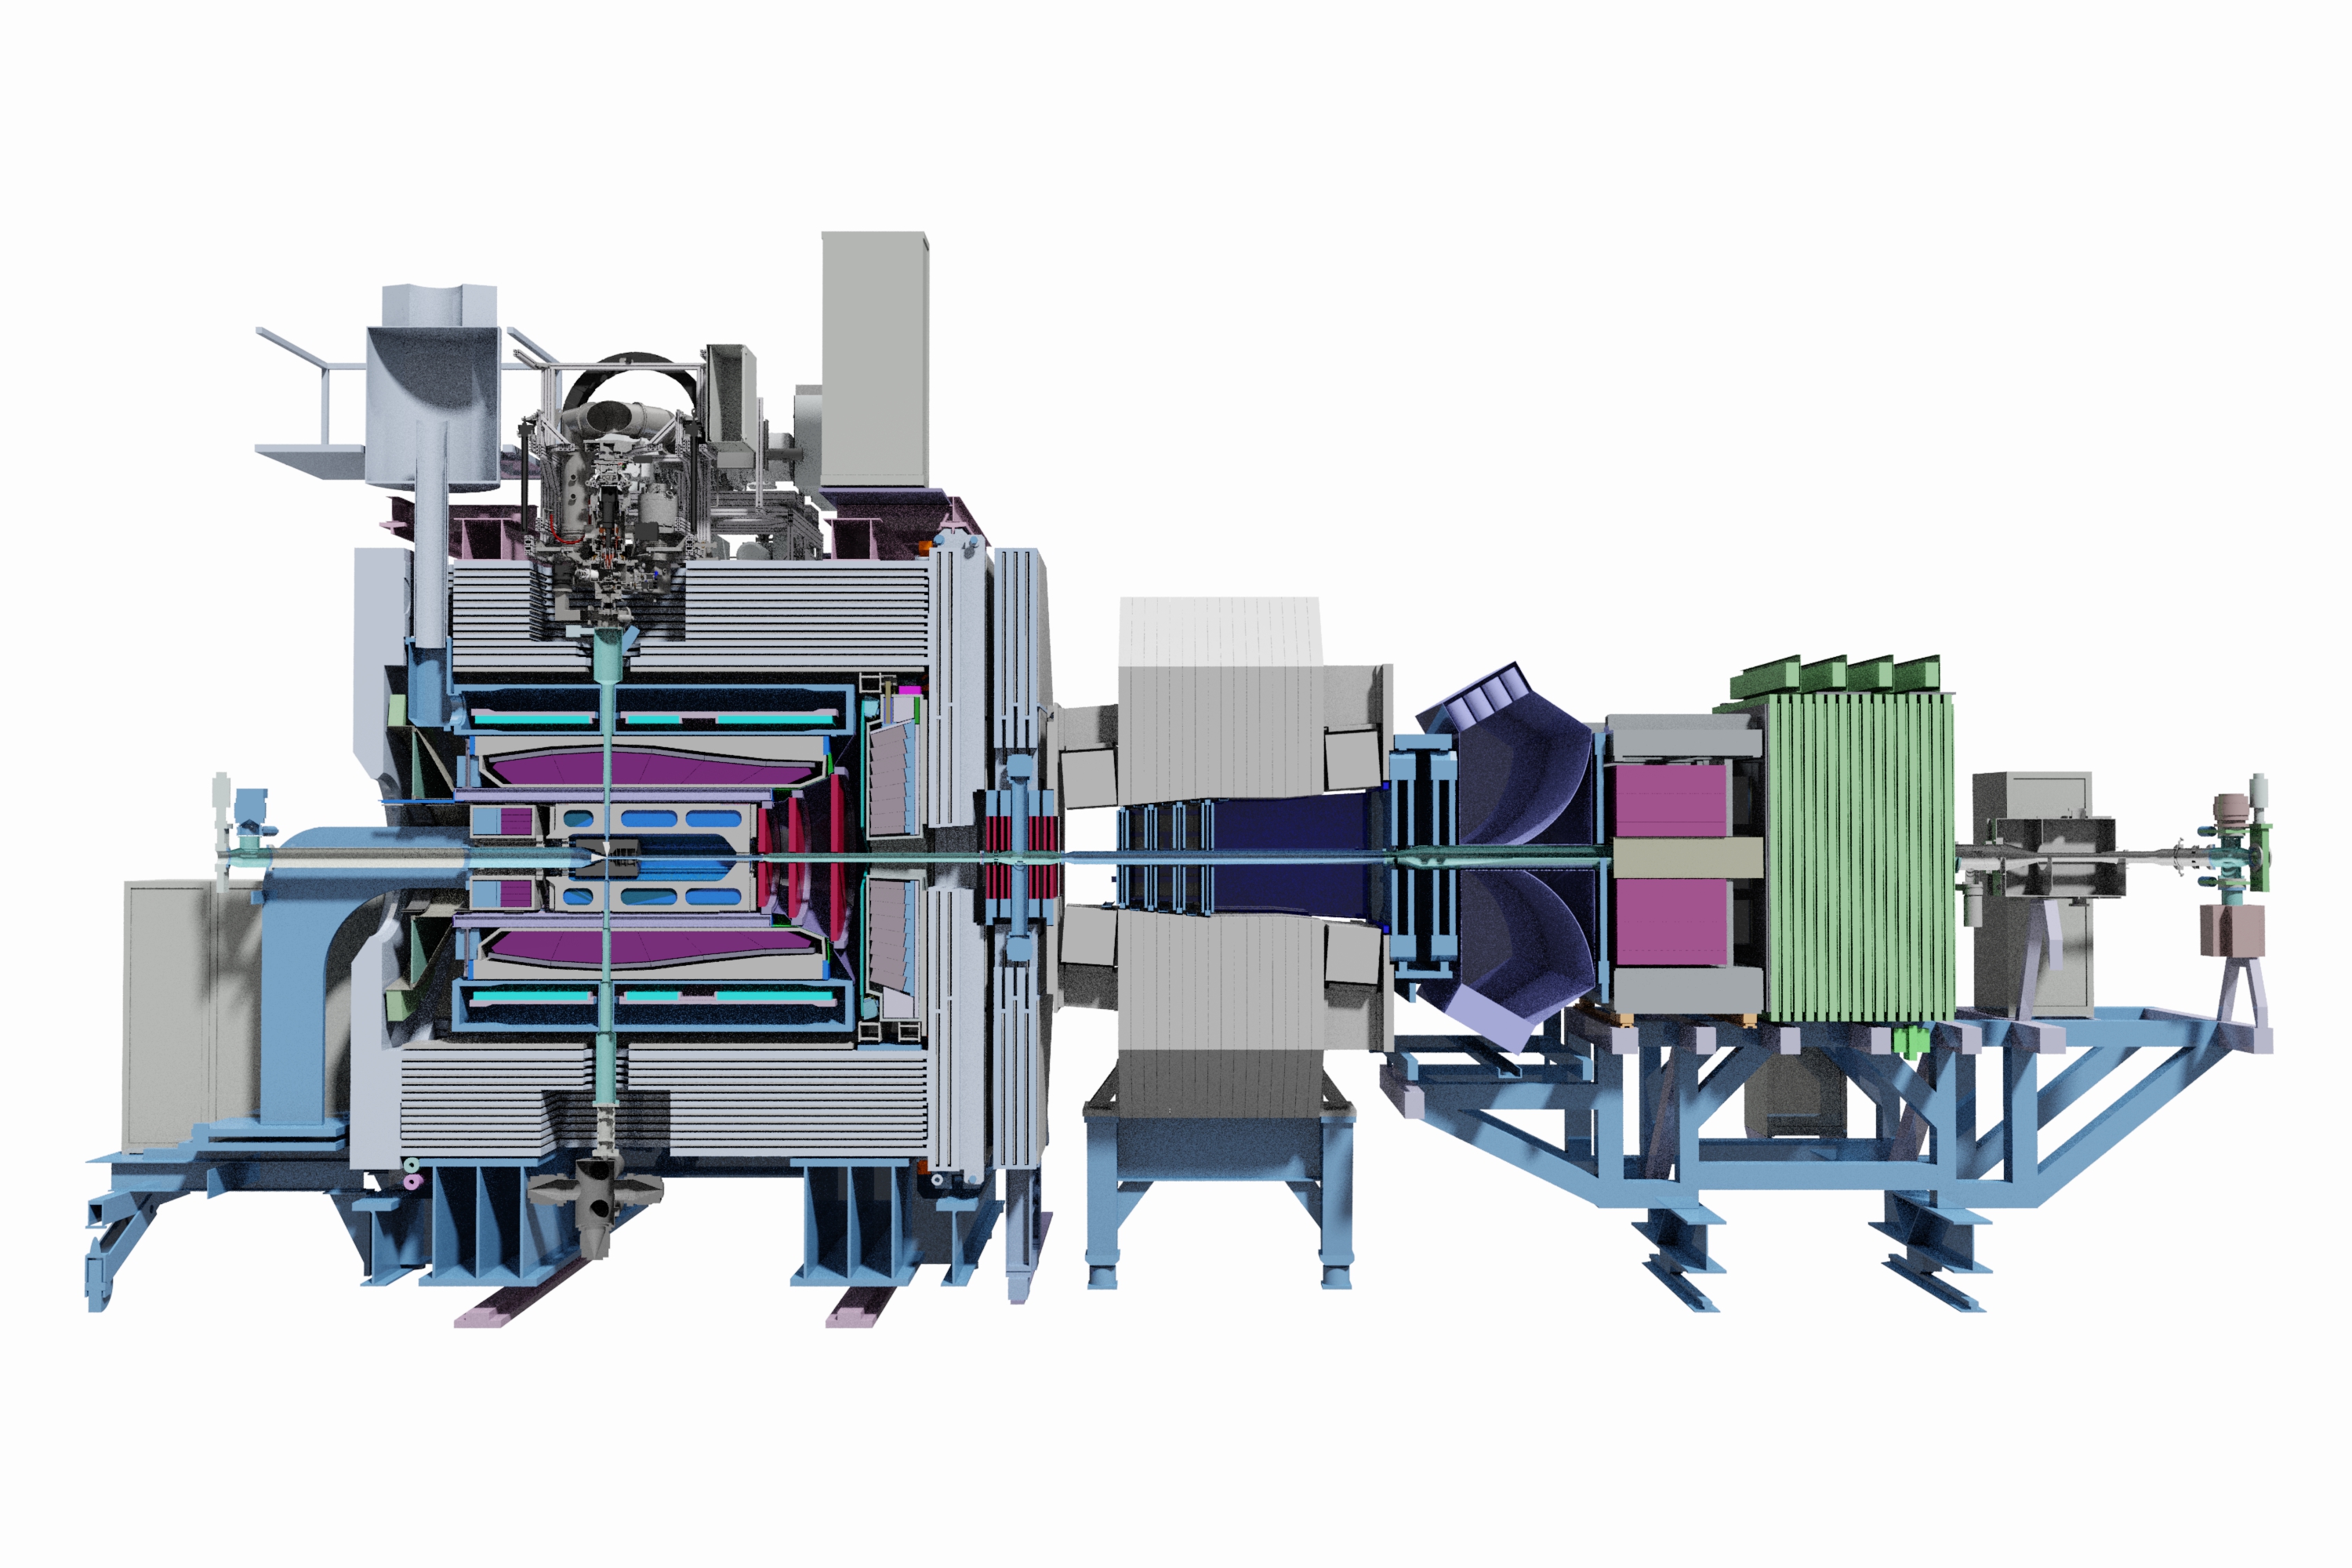
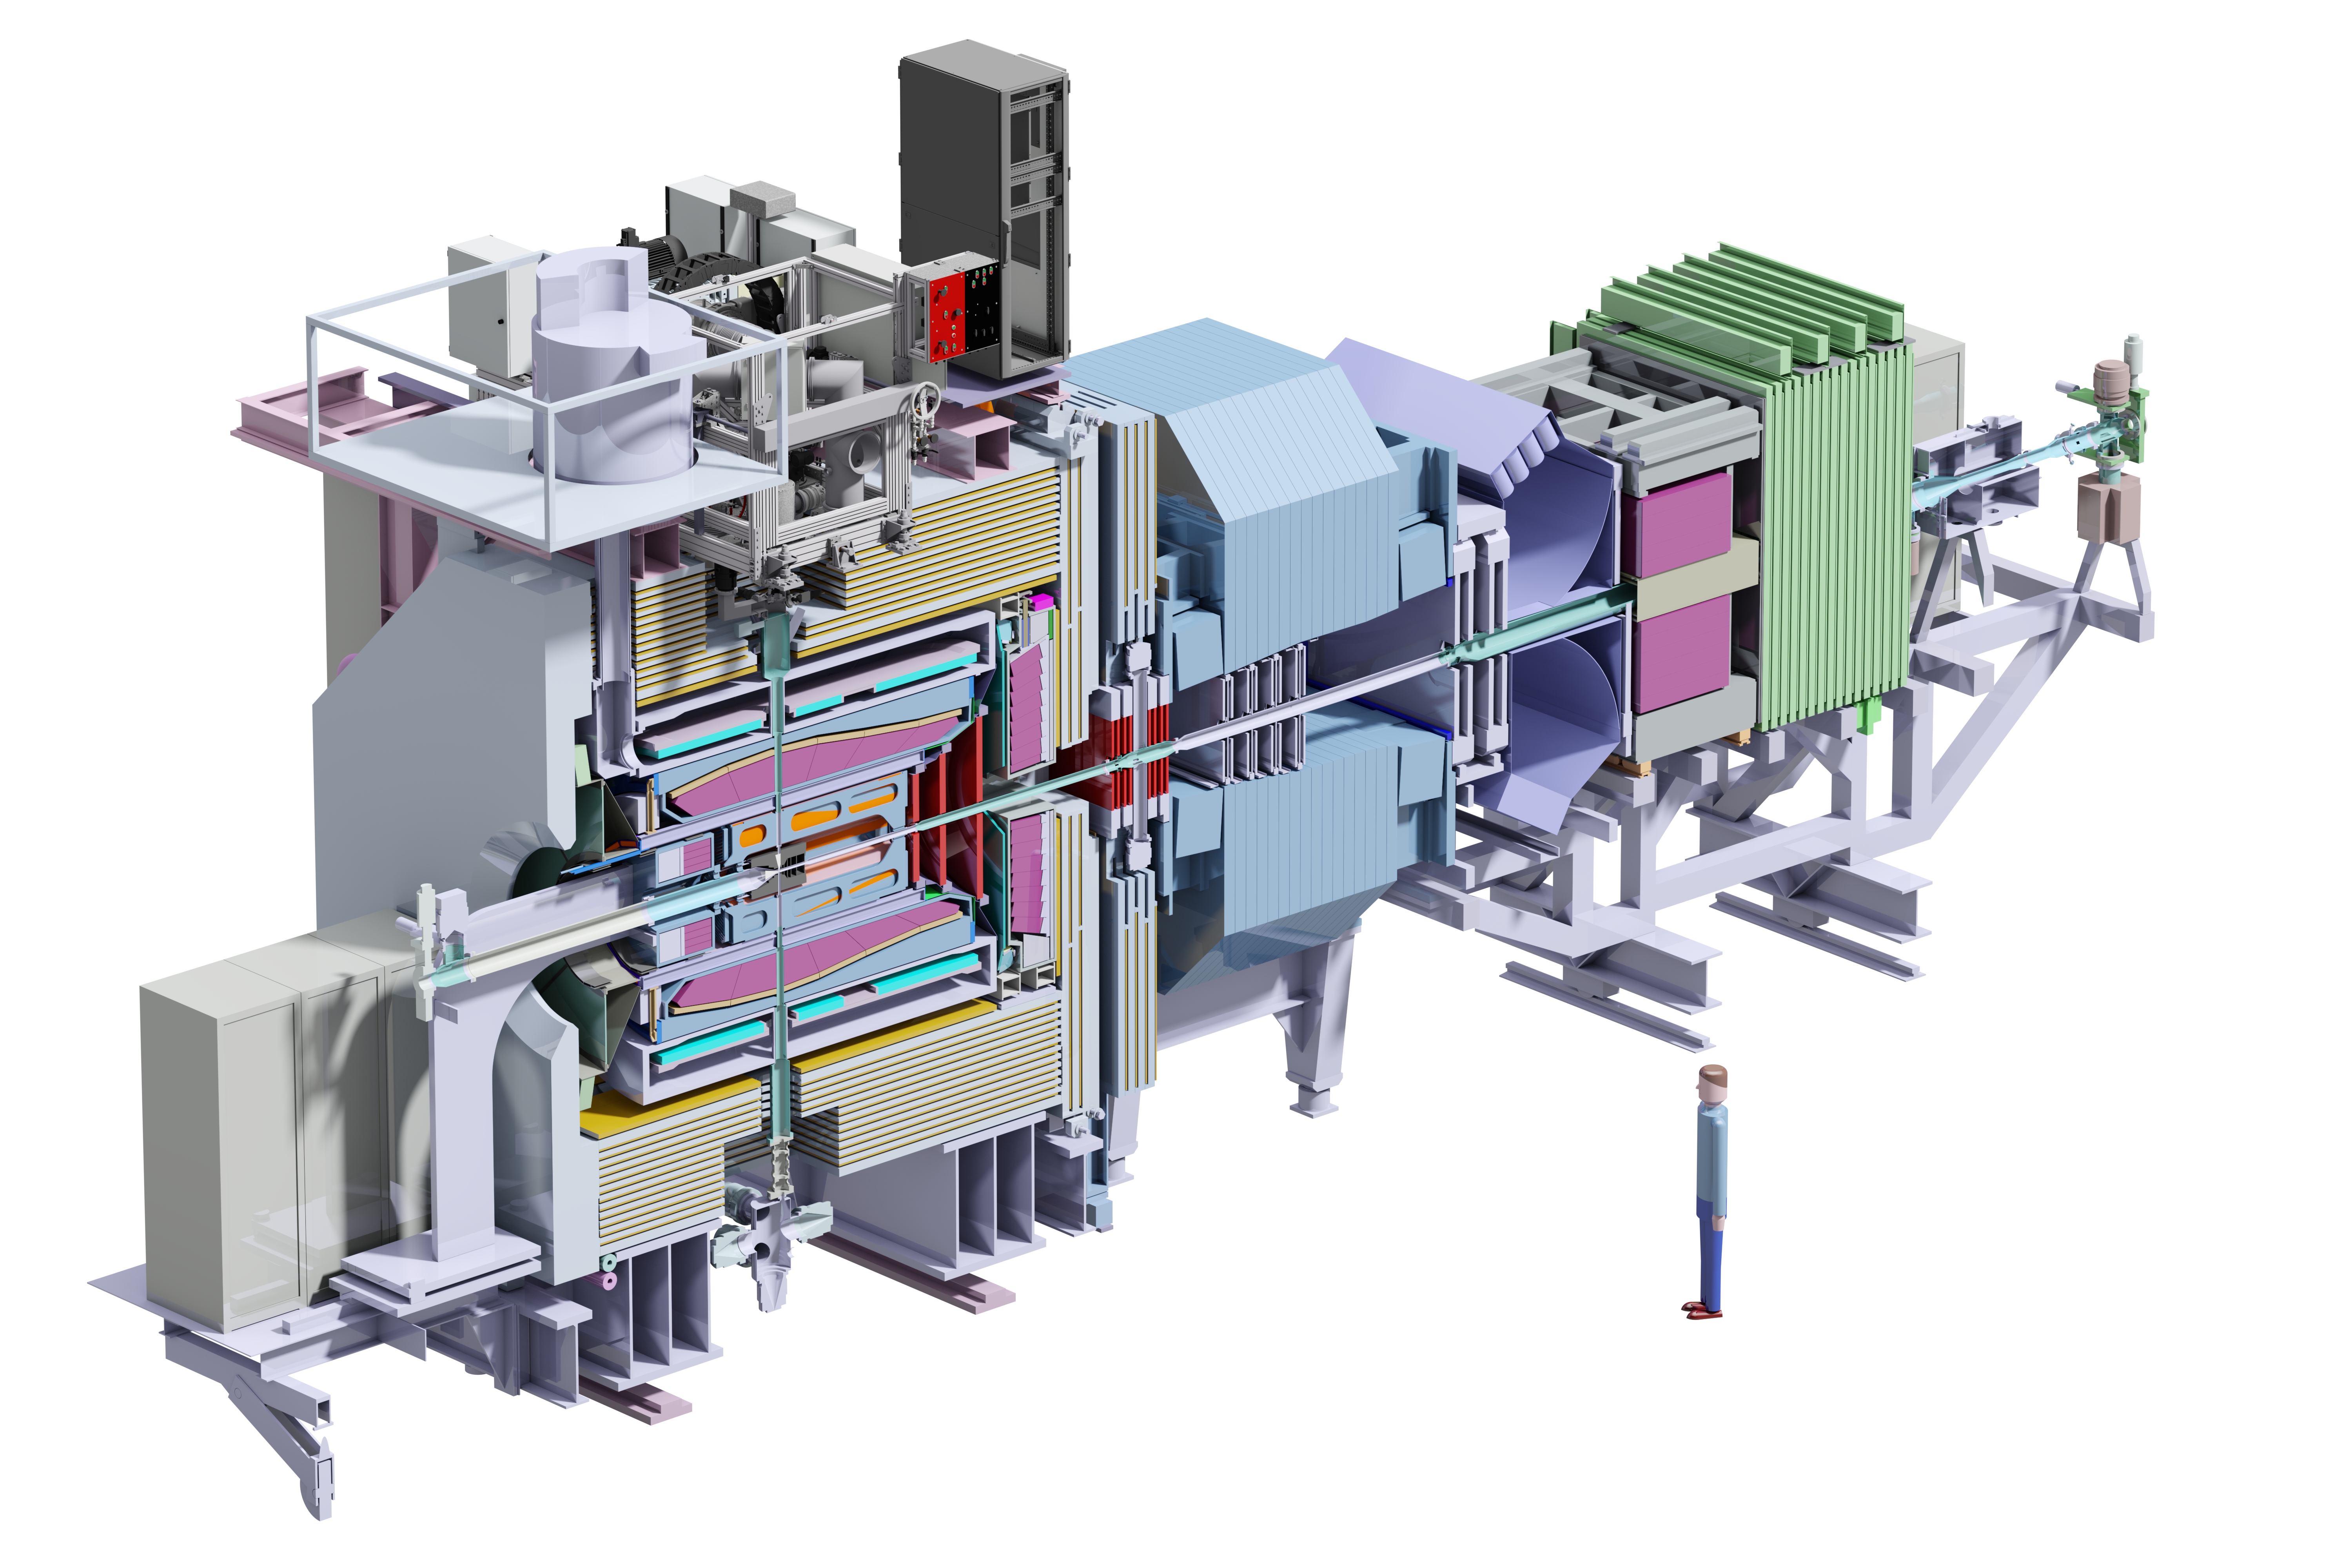
Cluster-Jet target and full PANDA setup. |
 |
Cluster-Jet target and full PANDA setup. |
 |
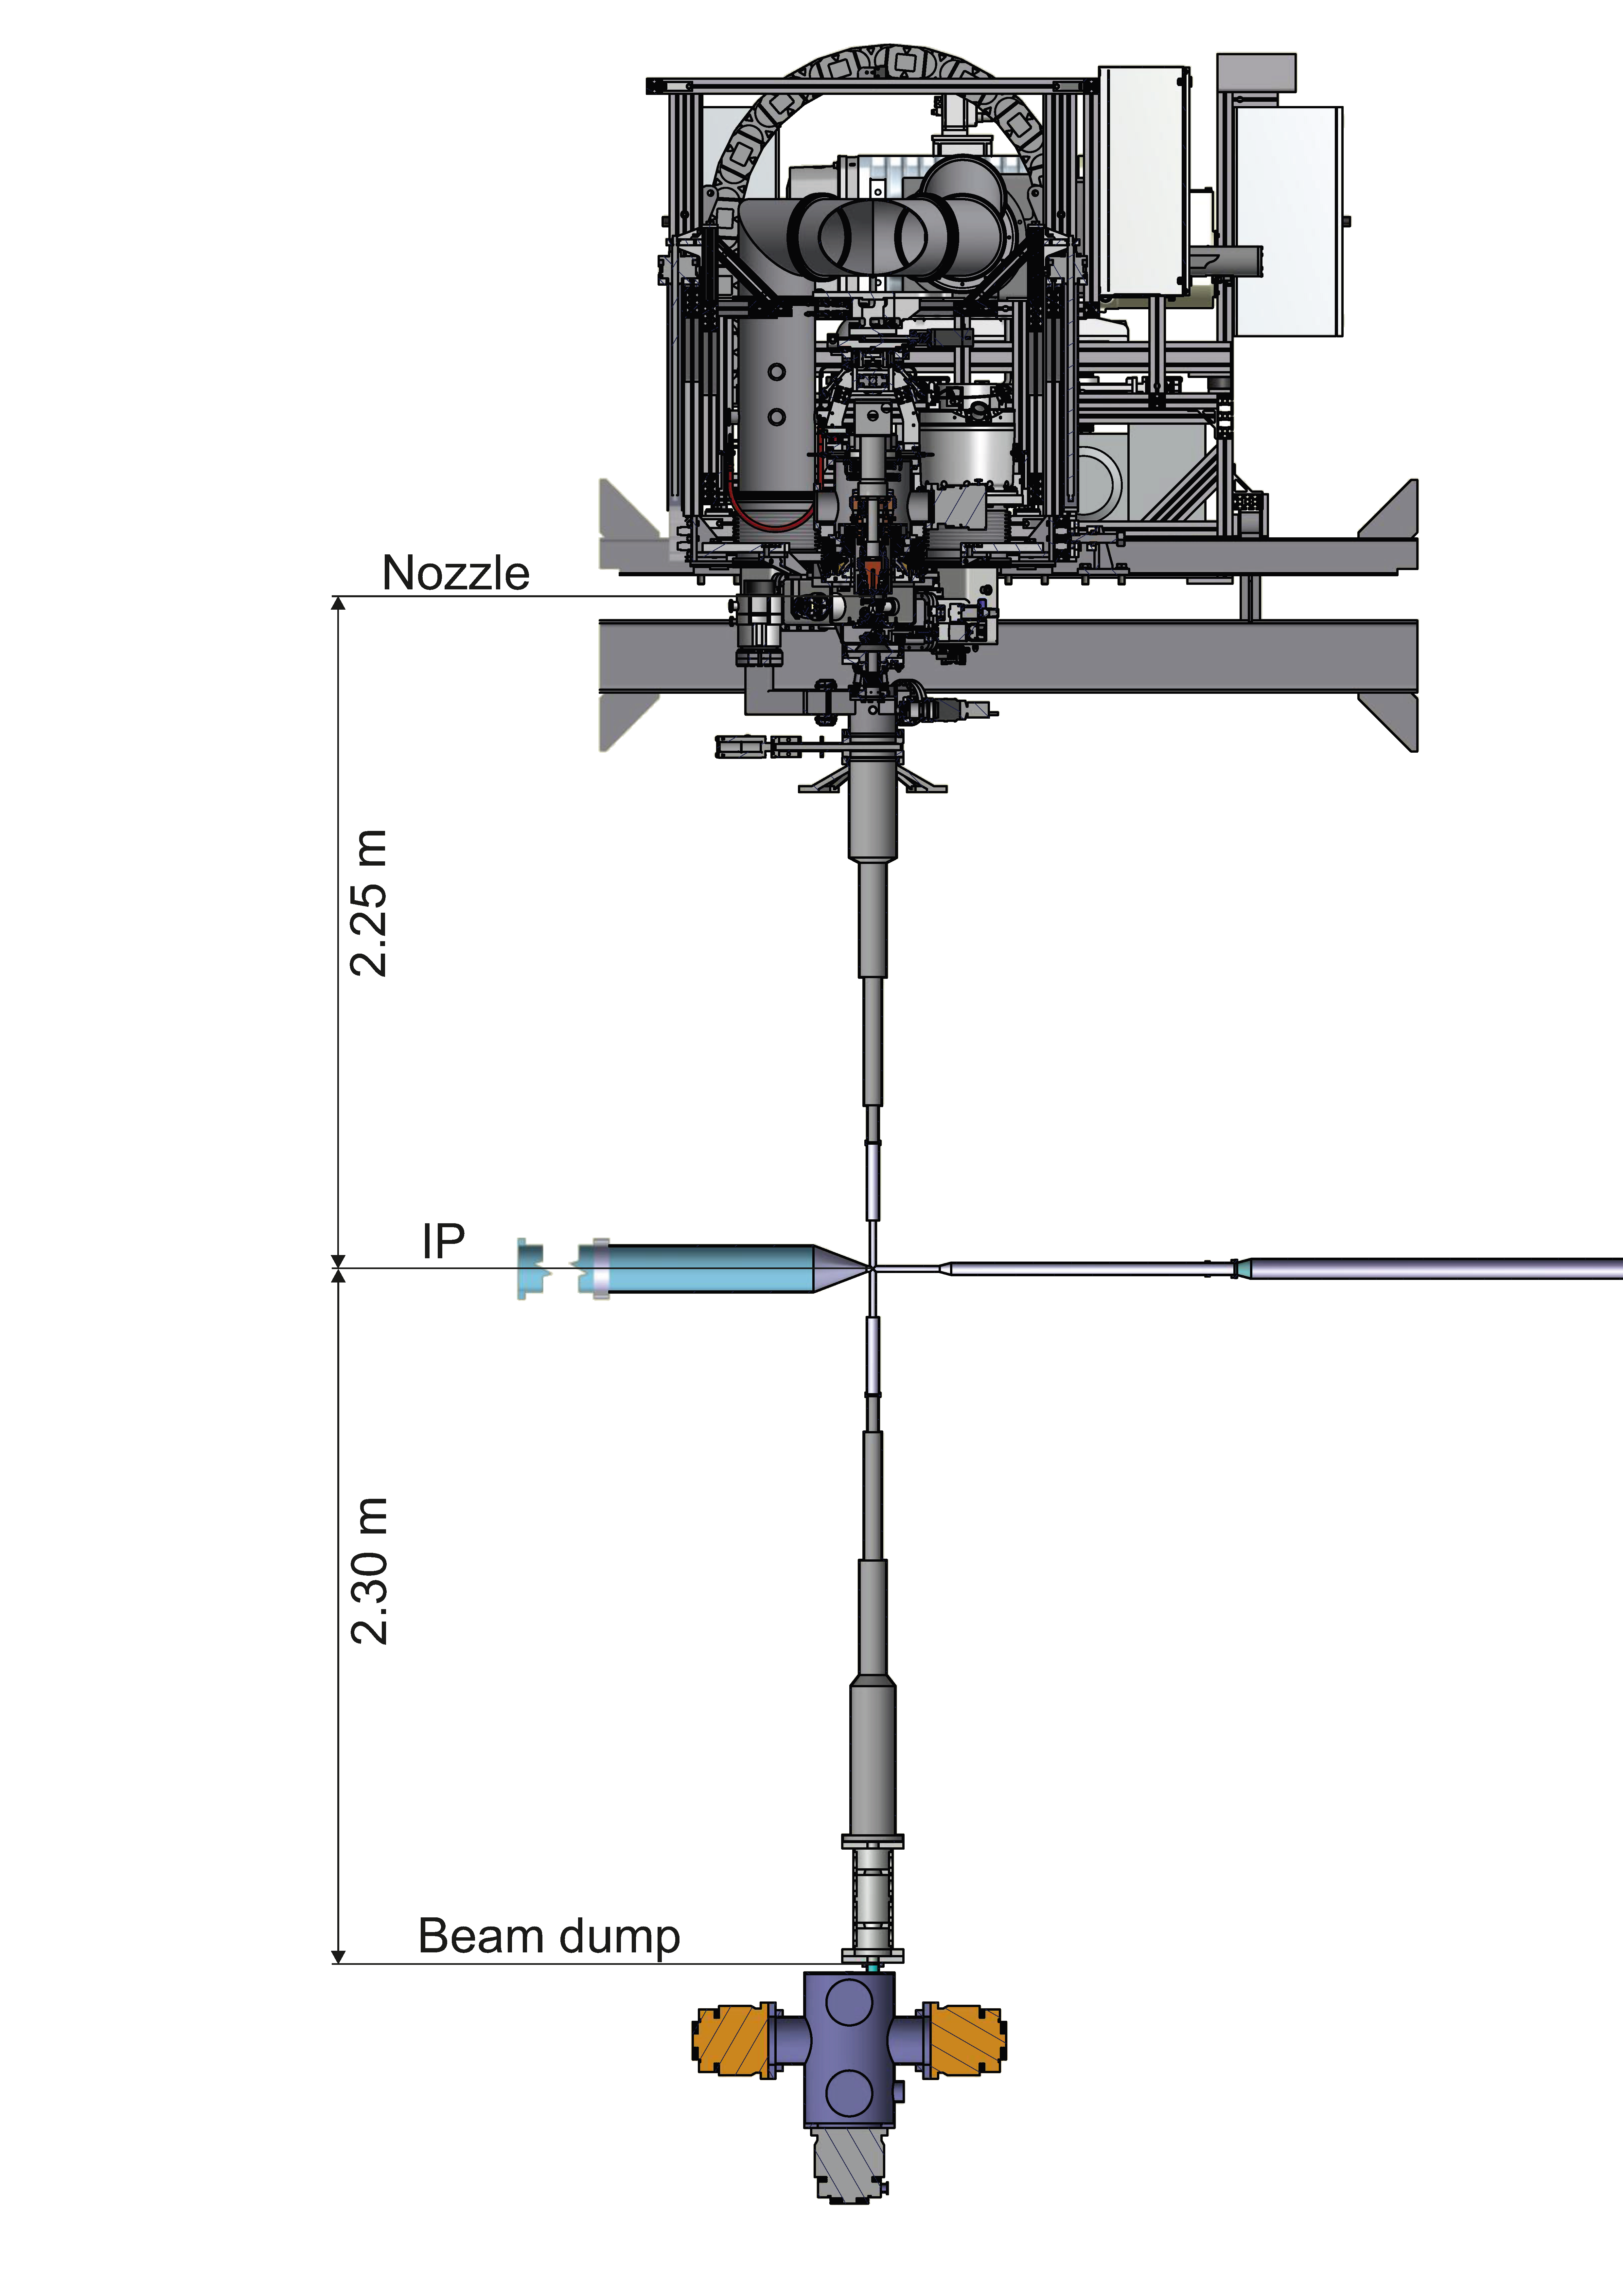
Cluster-jet target, PANDA beamline, and beam dump. Cluster-jet beam direction from top to bottom. |
 |
PANDA cluster-jet target at COSY. Located at the former WASA-at-COSY target spot. |
 |
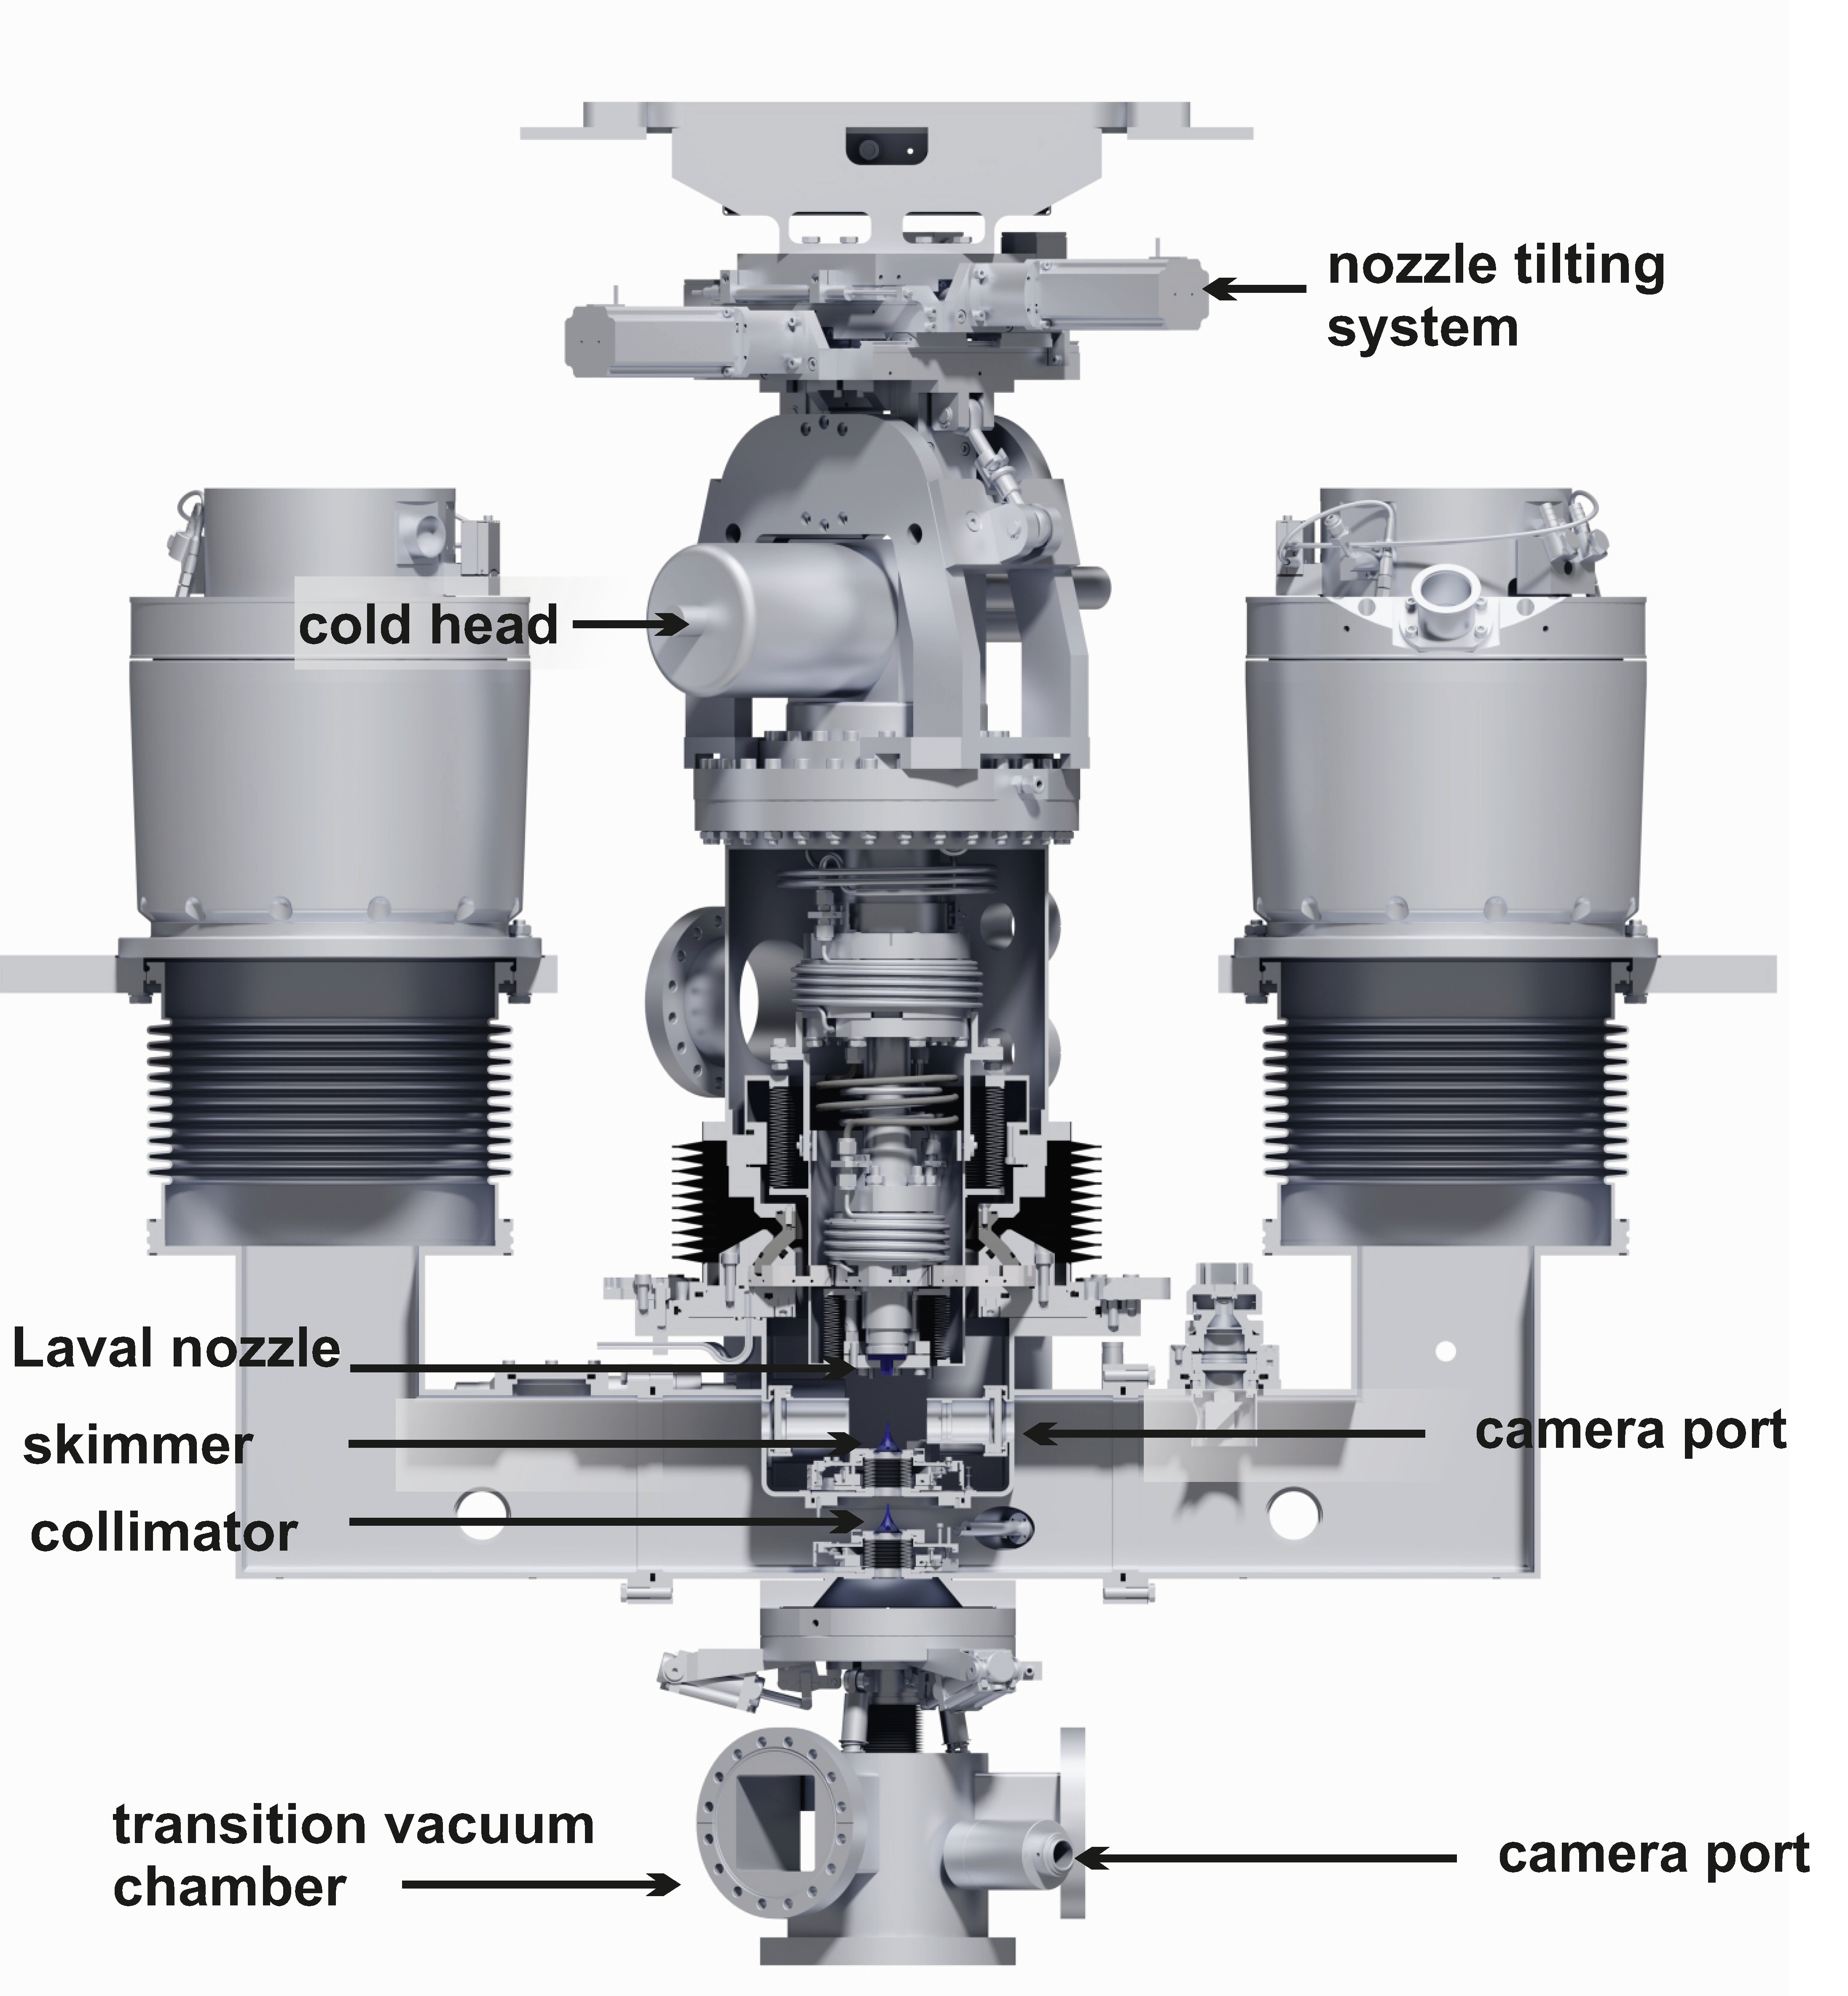
Cross section of the PANDA source. Beam direction top to bottom. |
 |
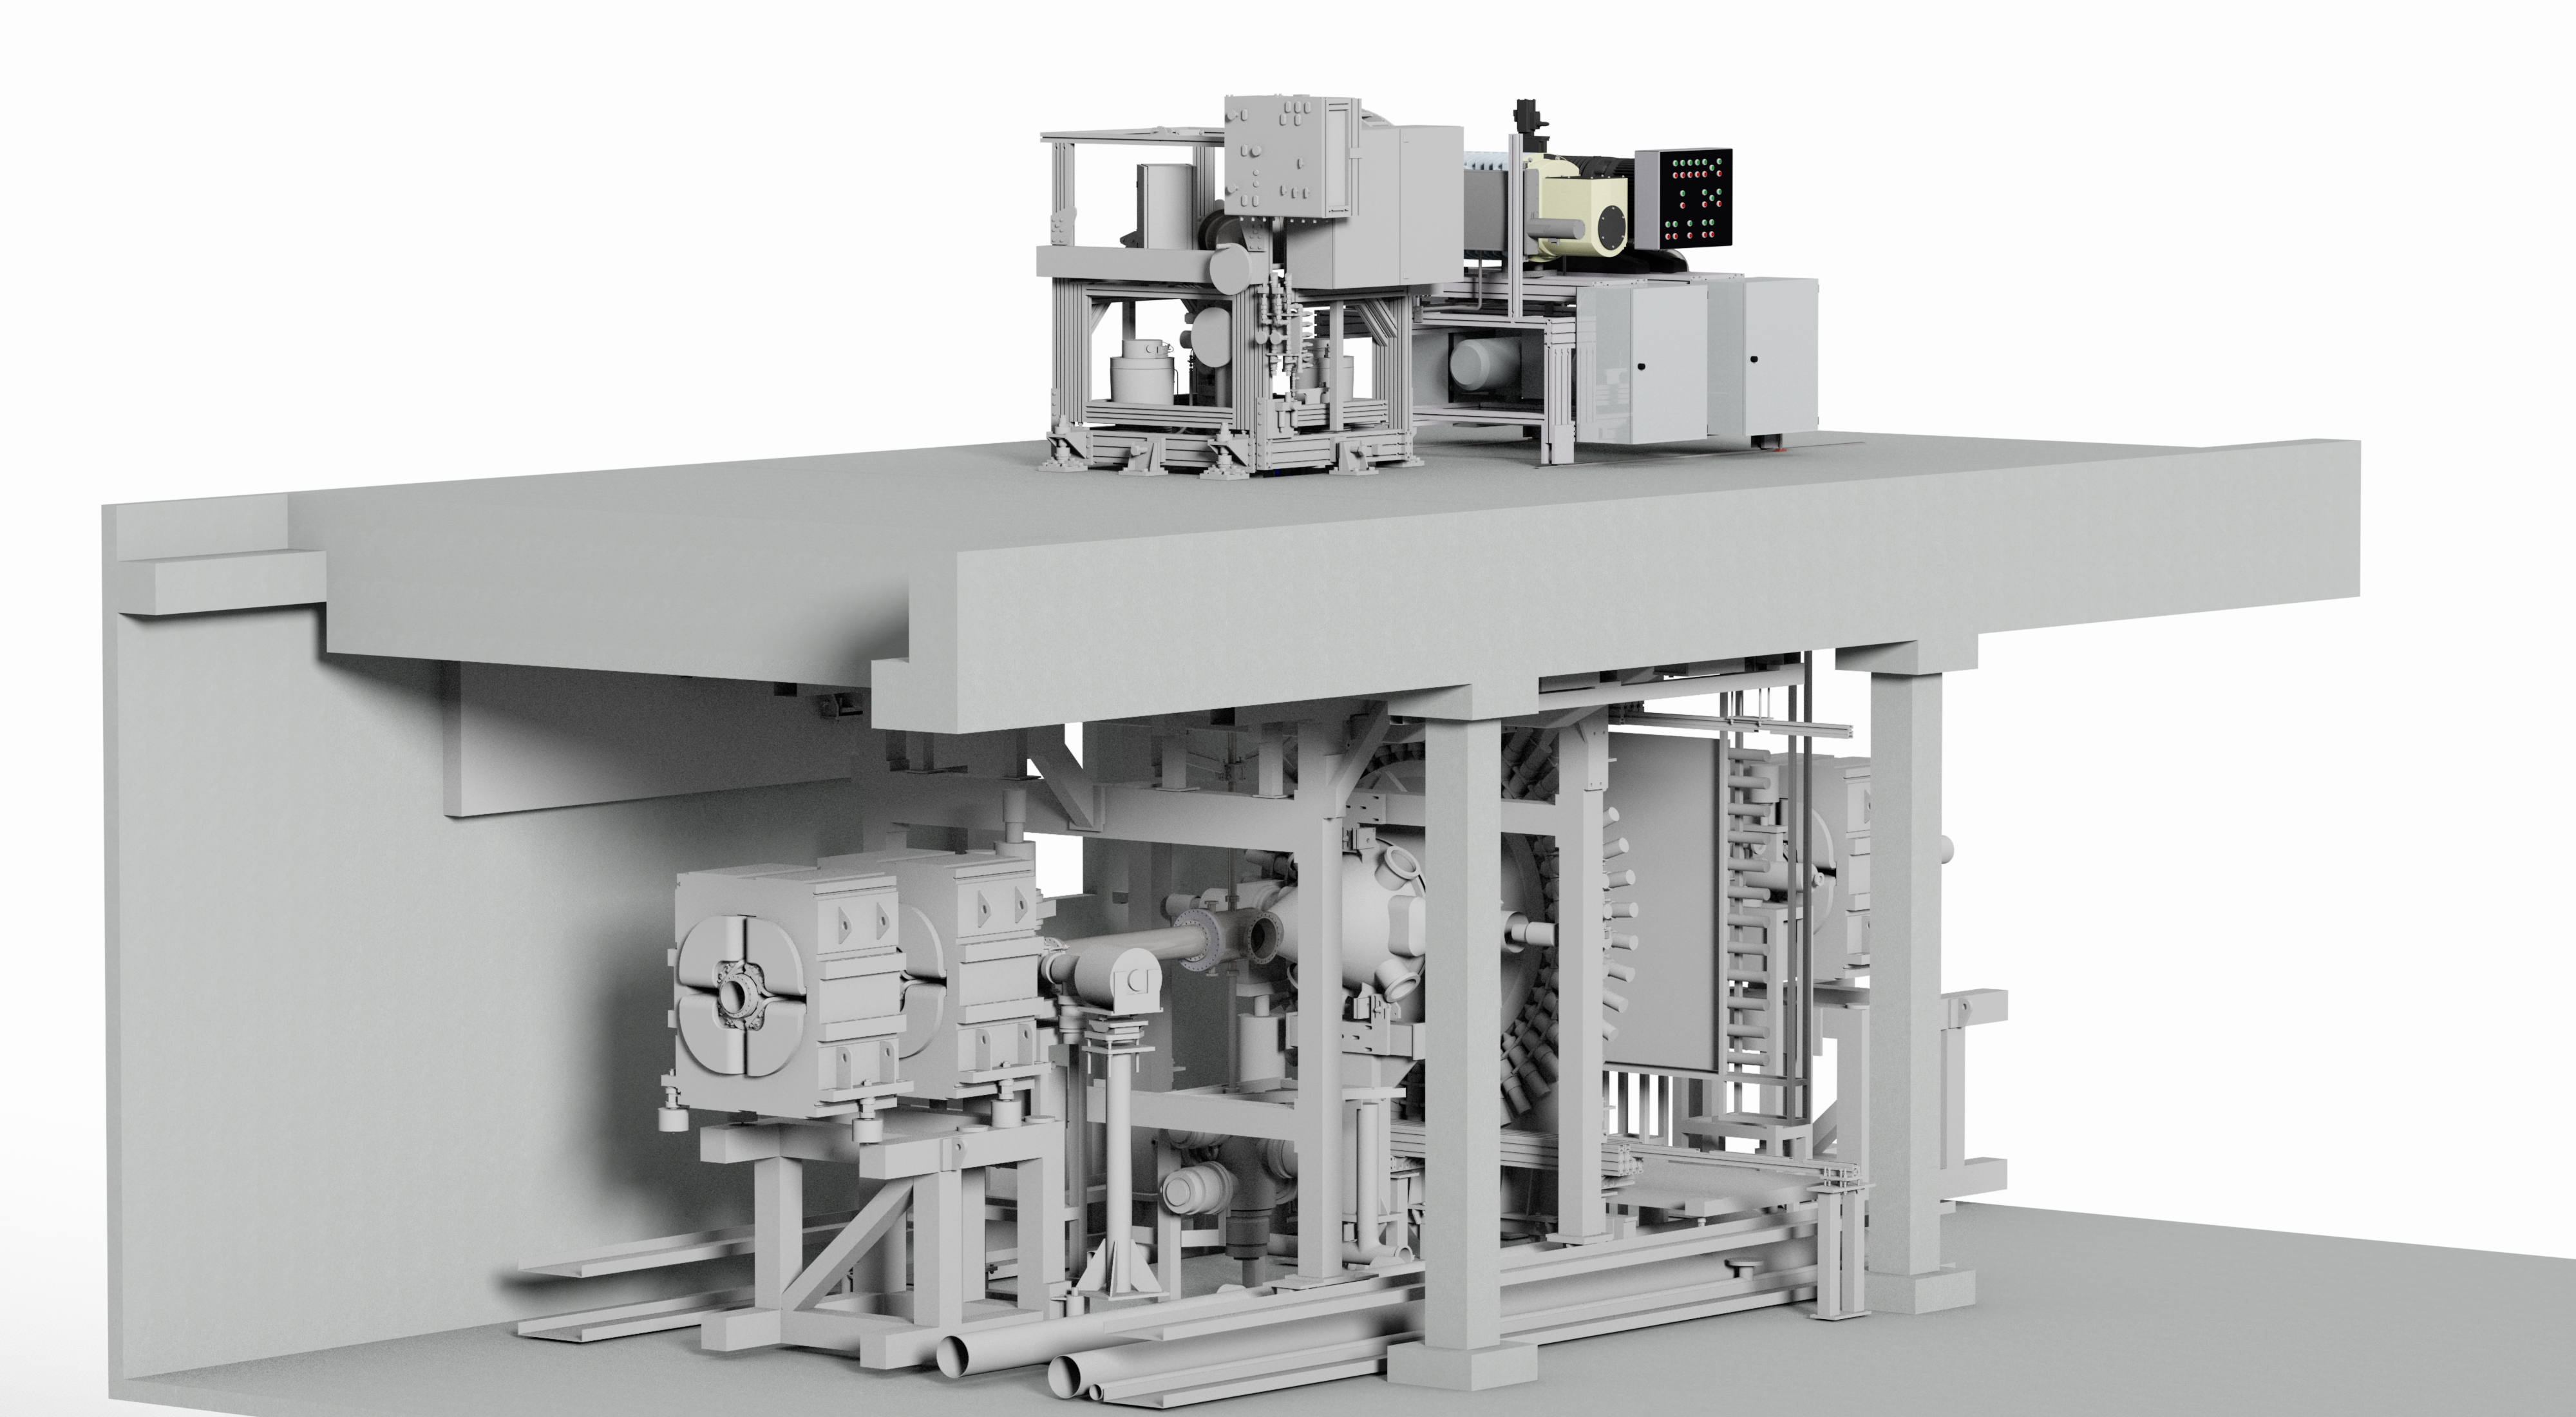
Cross section of the PANDA source and vacuum system. |
 |
Cross section of the PANDA source and vacuum system. |
 |
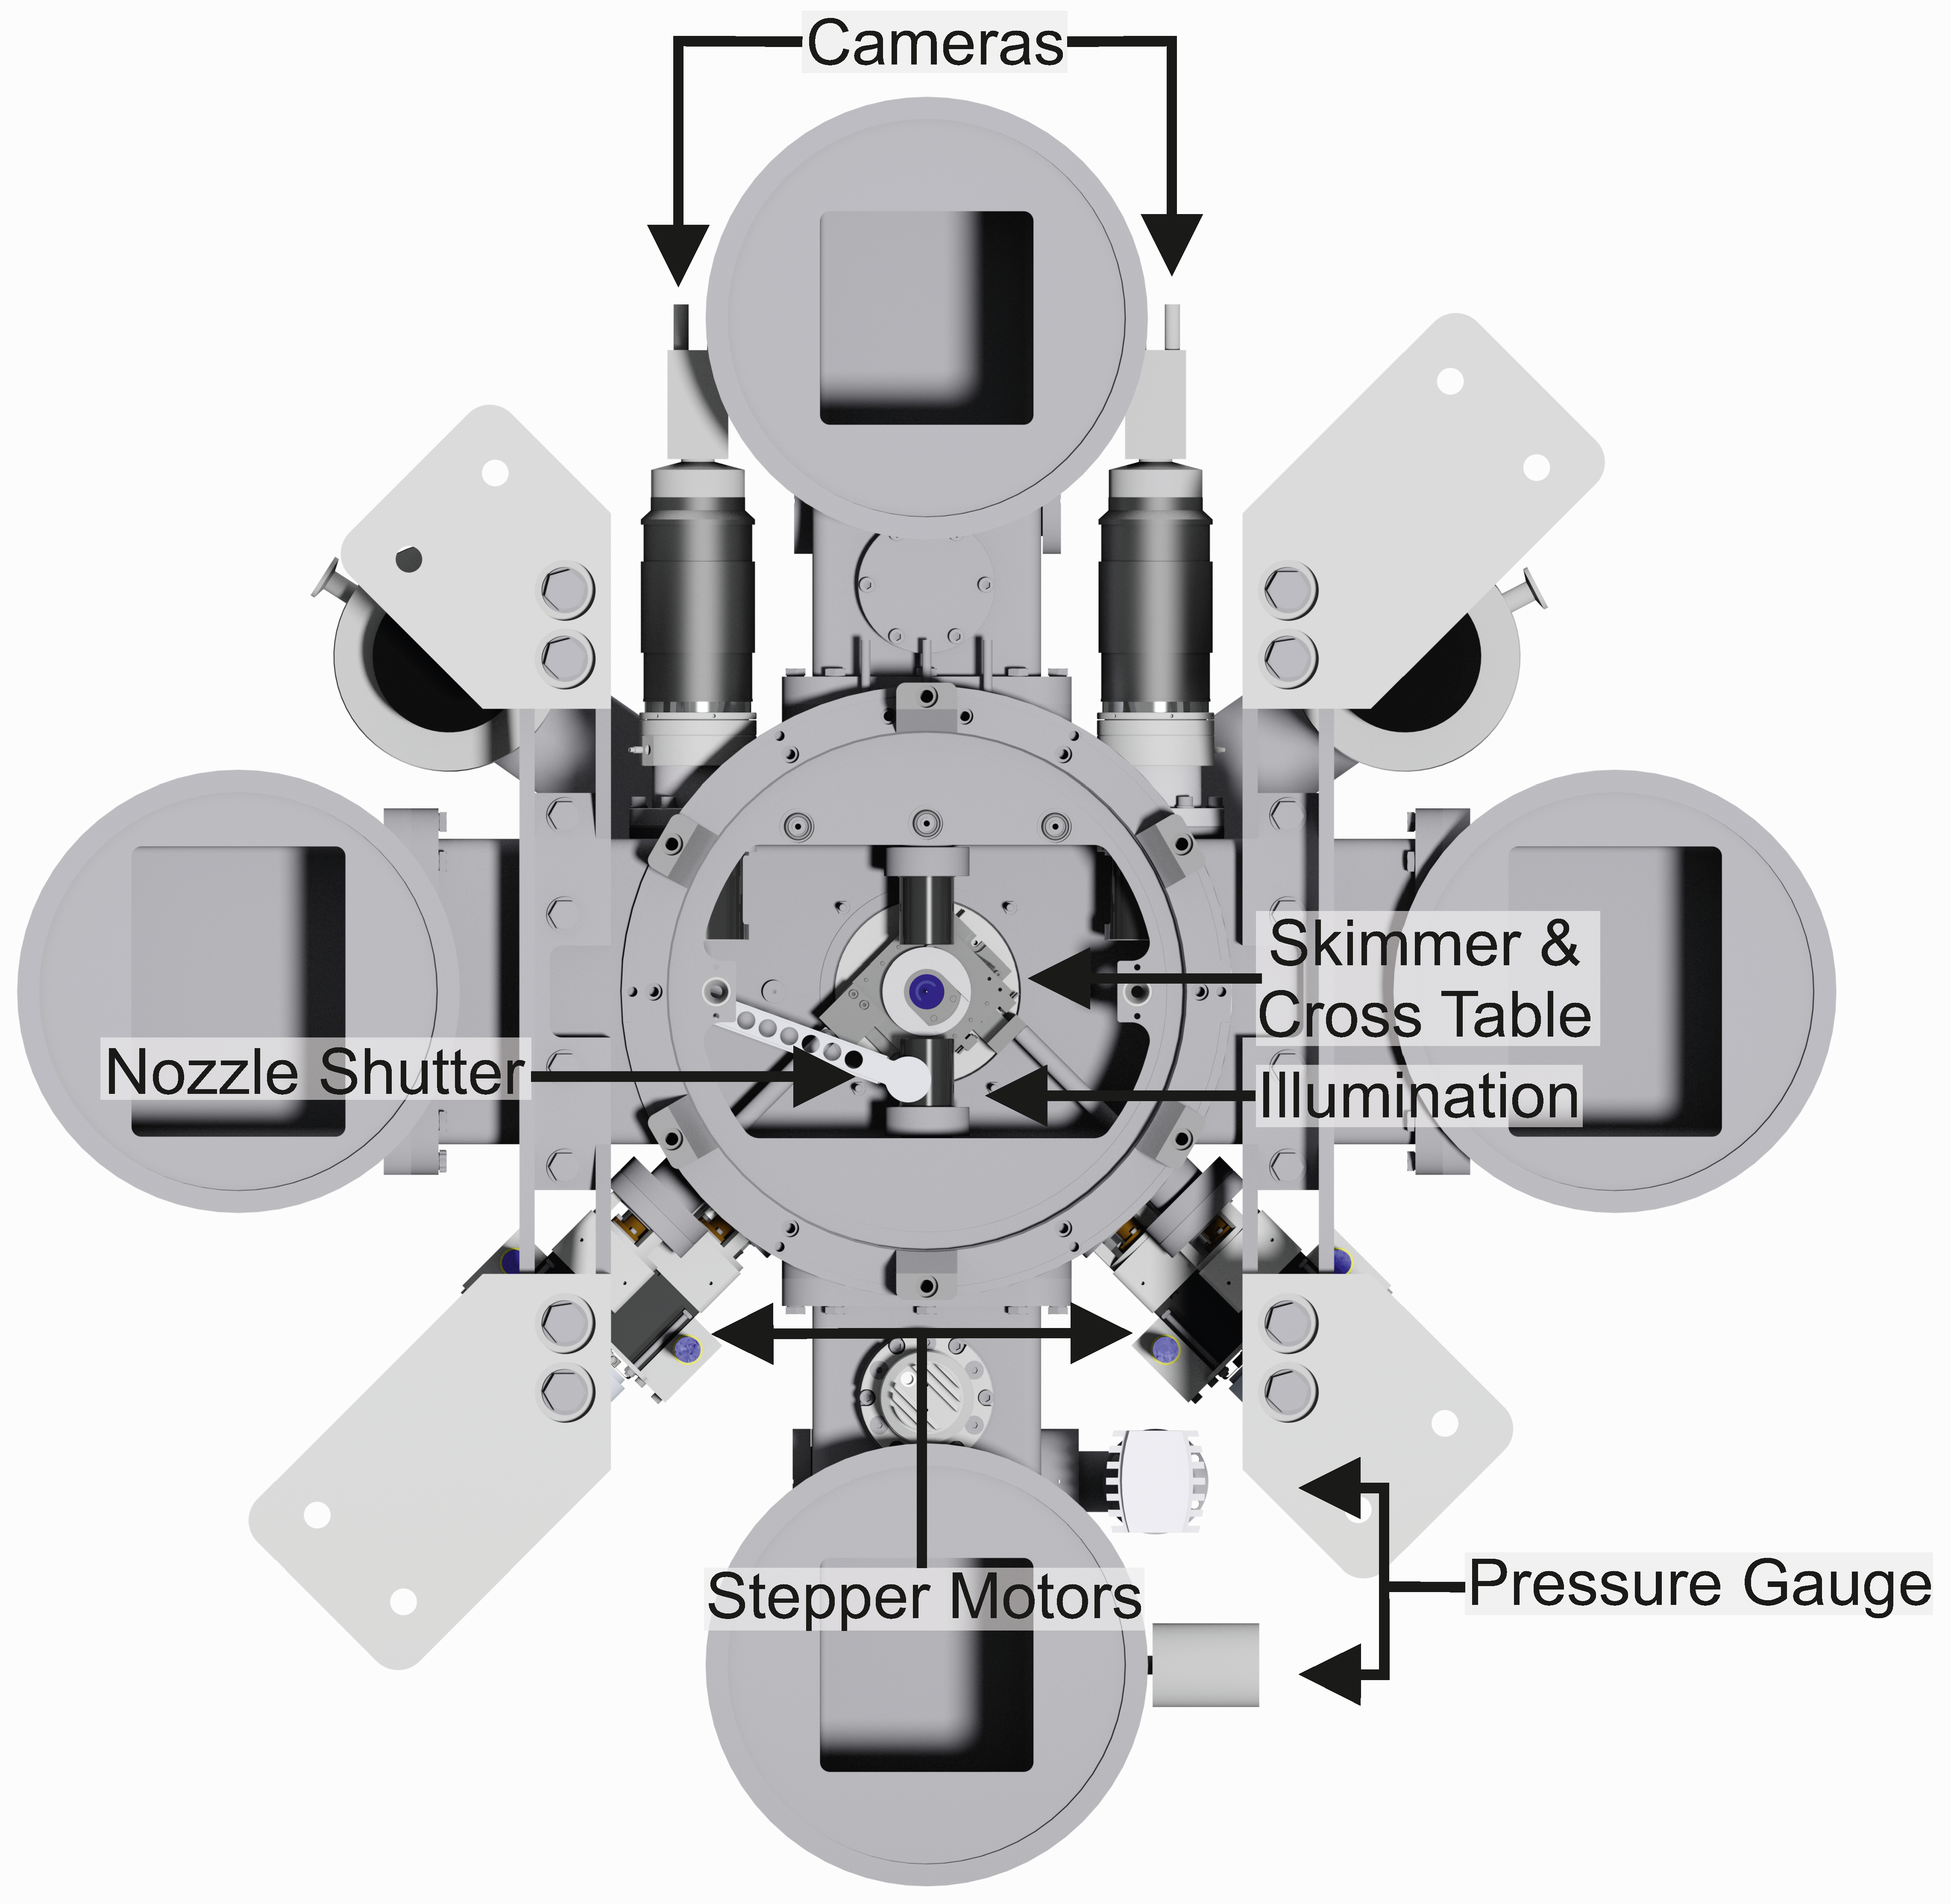
Cross section of skimmer chamber. Beam direction into the plain. |
 |
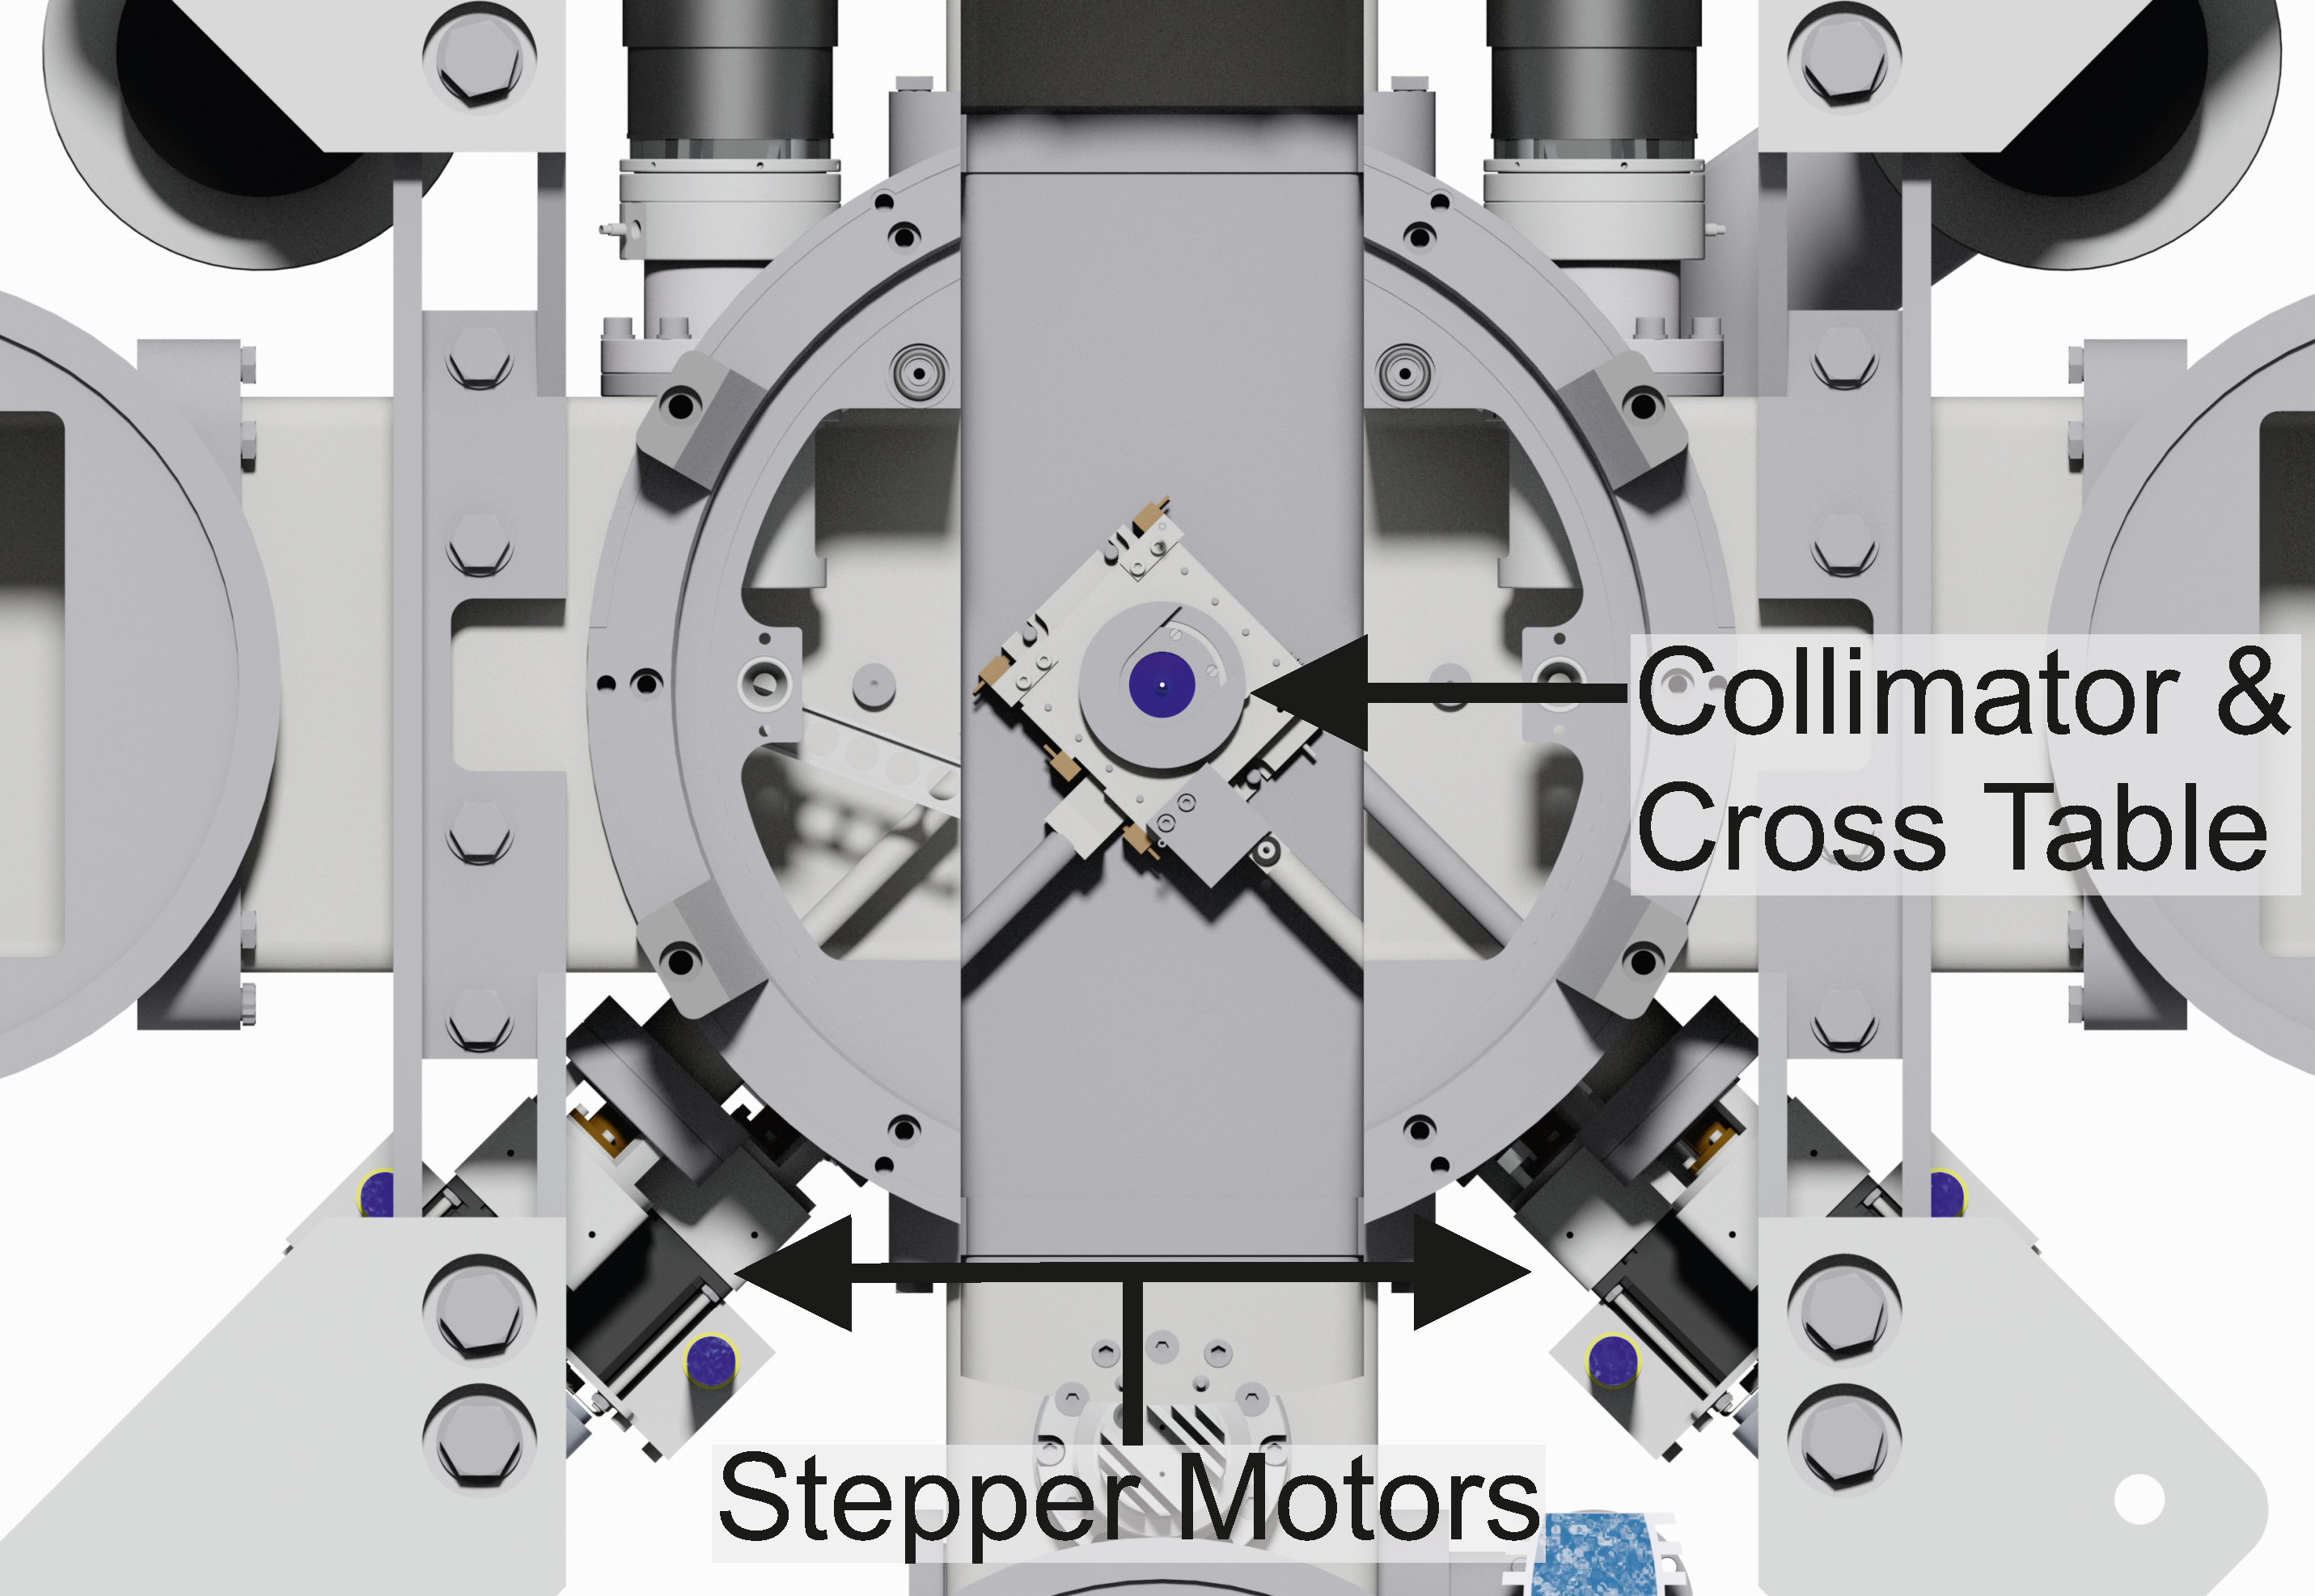
Cross section of collimator chamber. Beam direction into the plain. |
 |
Photo of the skimmer chamber. Visible is the cluster-jet beam from top to bottom. Skimmer visible on the bottom. |
 |
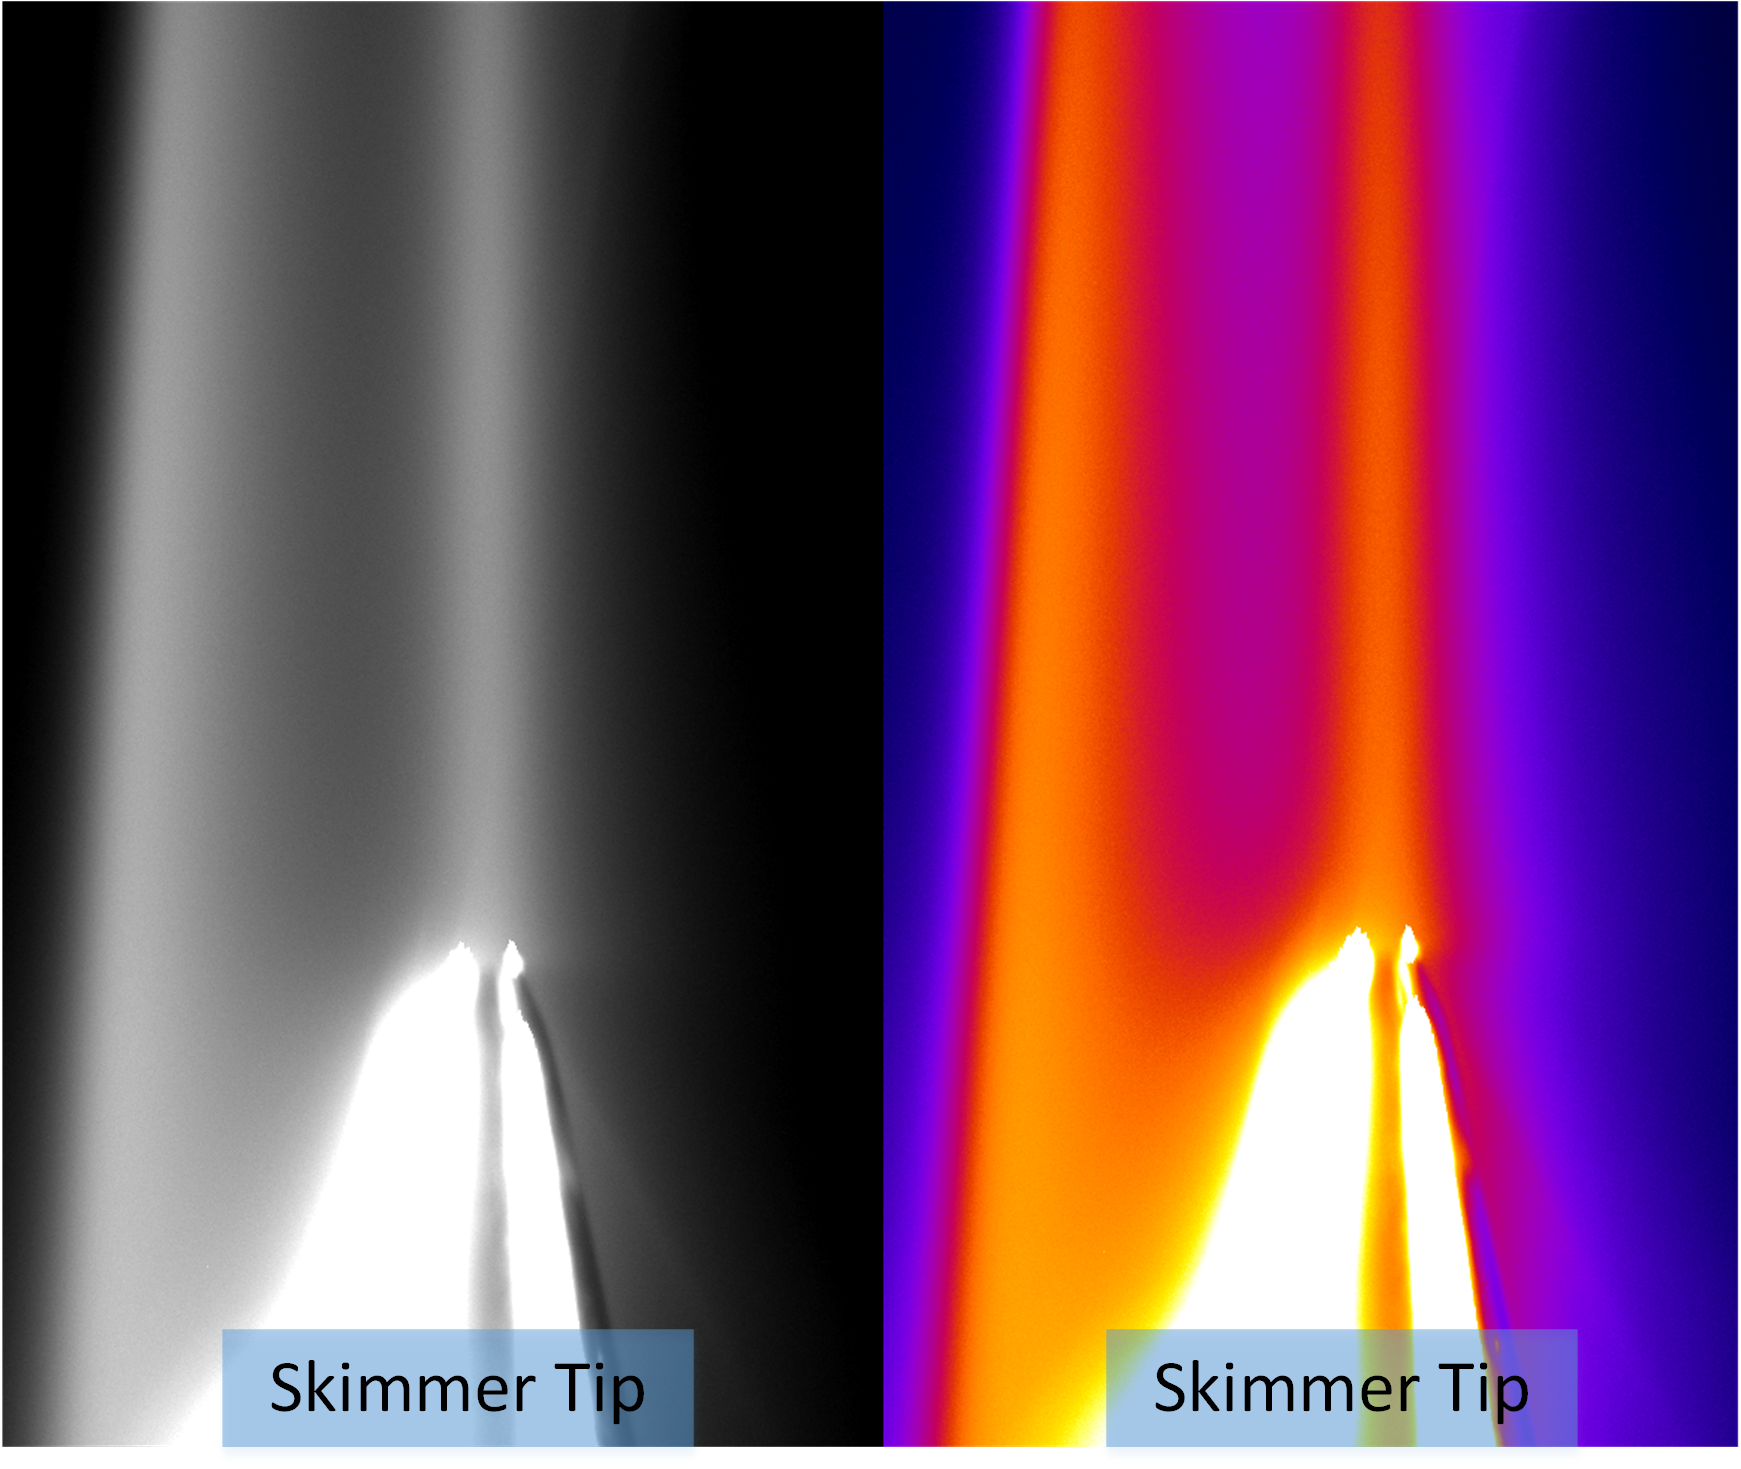
Photo of the cluster-jet beam (true and false colour). Visible are the two highly intense core beams. |
 |
Pumping station of the cluster-jet target. |
 |
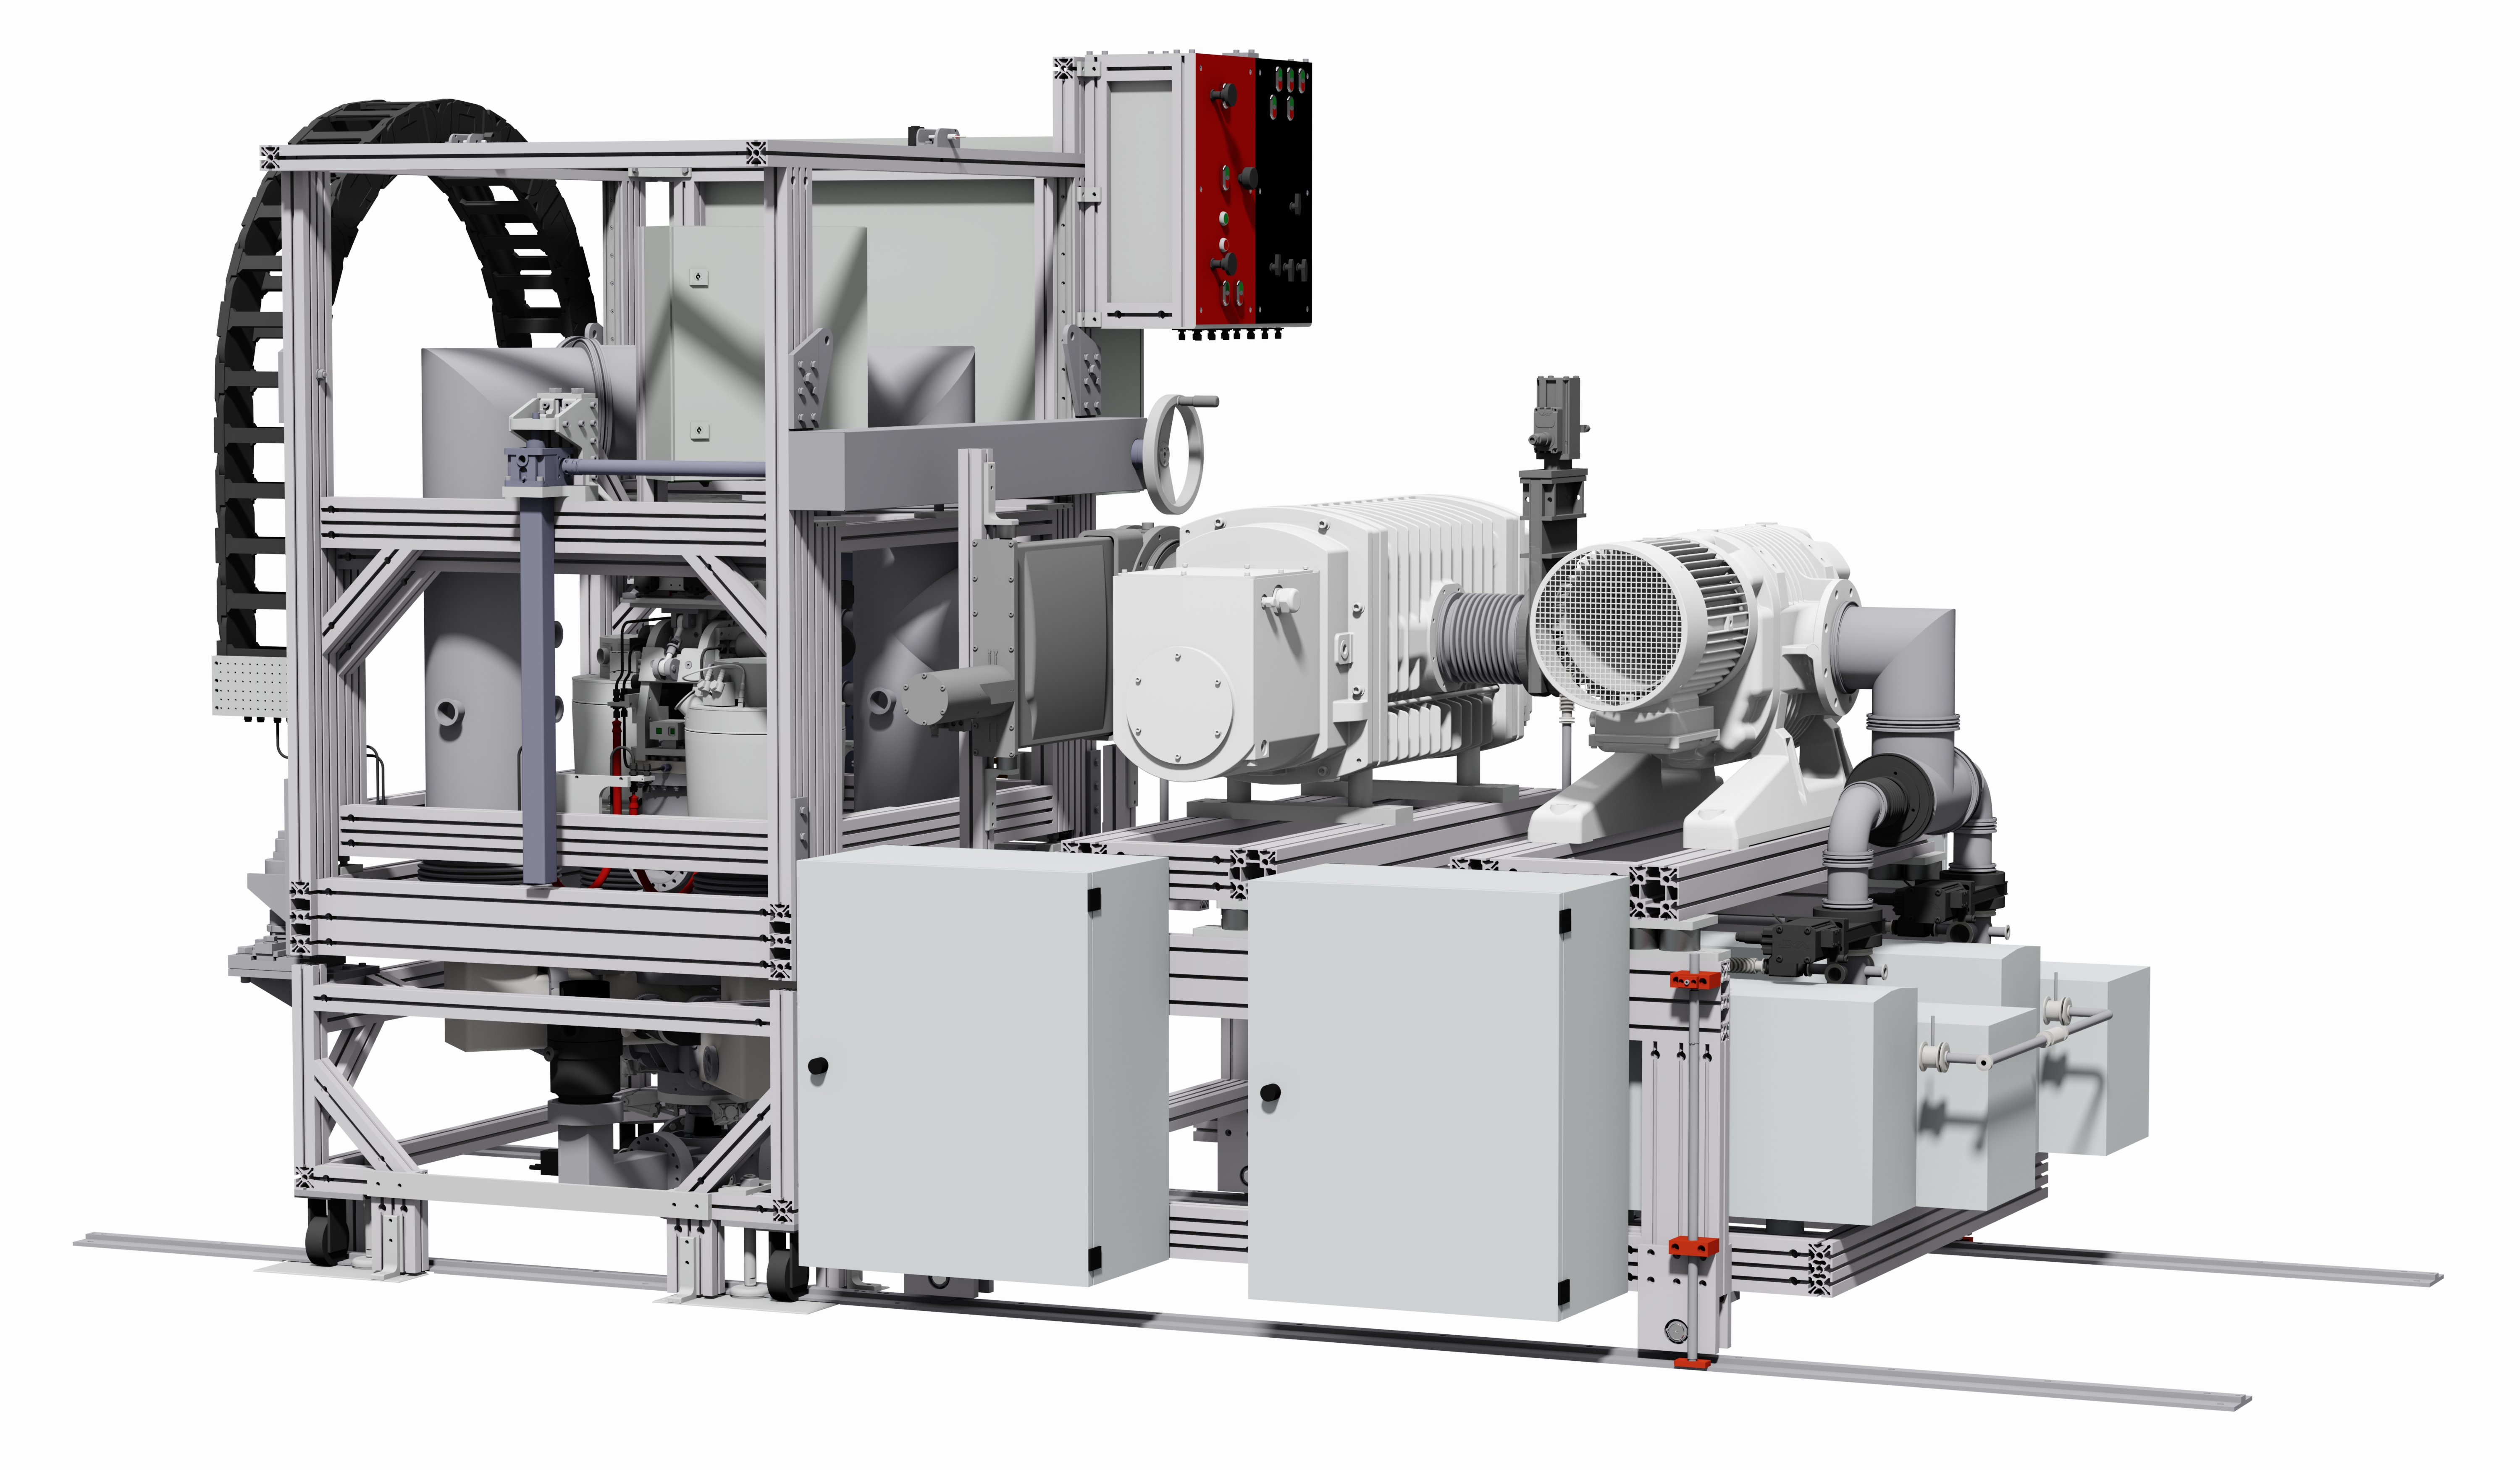
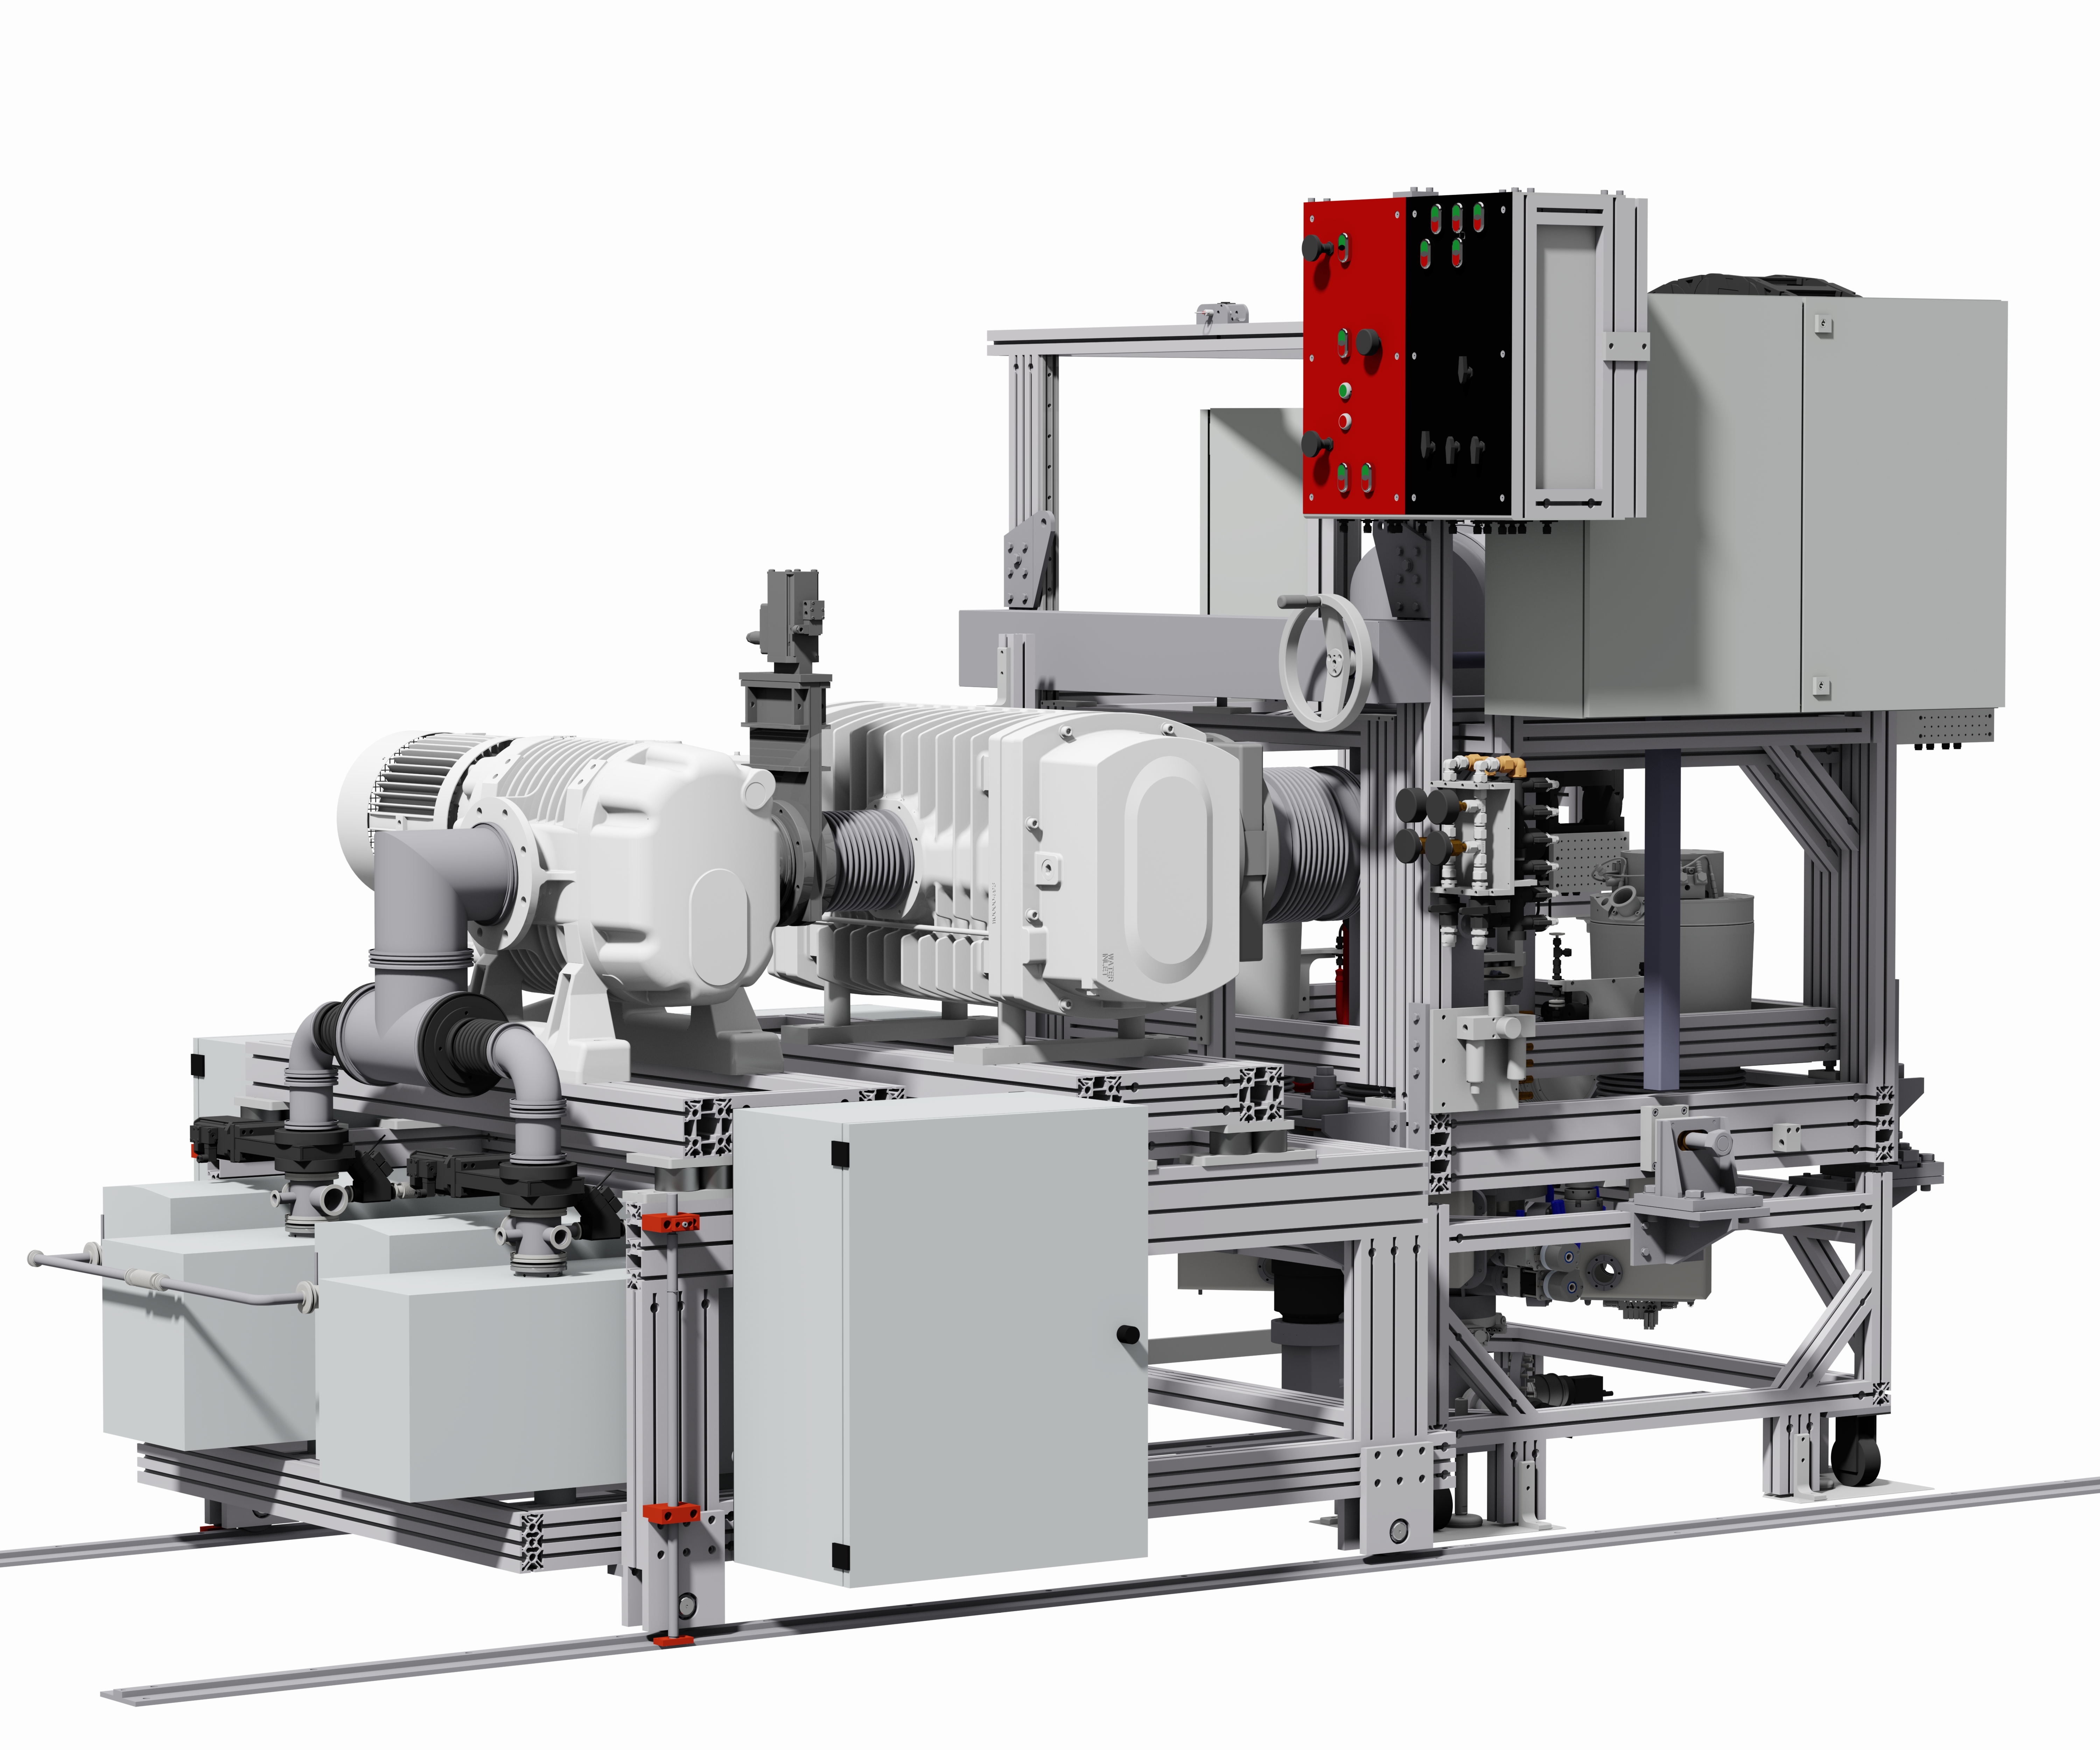
Cluster-jet source setup, its support frame and pumping station. |
 |
Cluster-jet source setup, its support frame and pumping station. |
 |
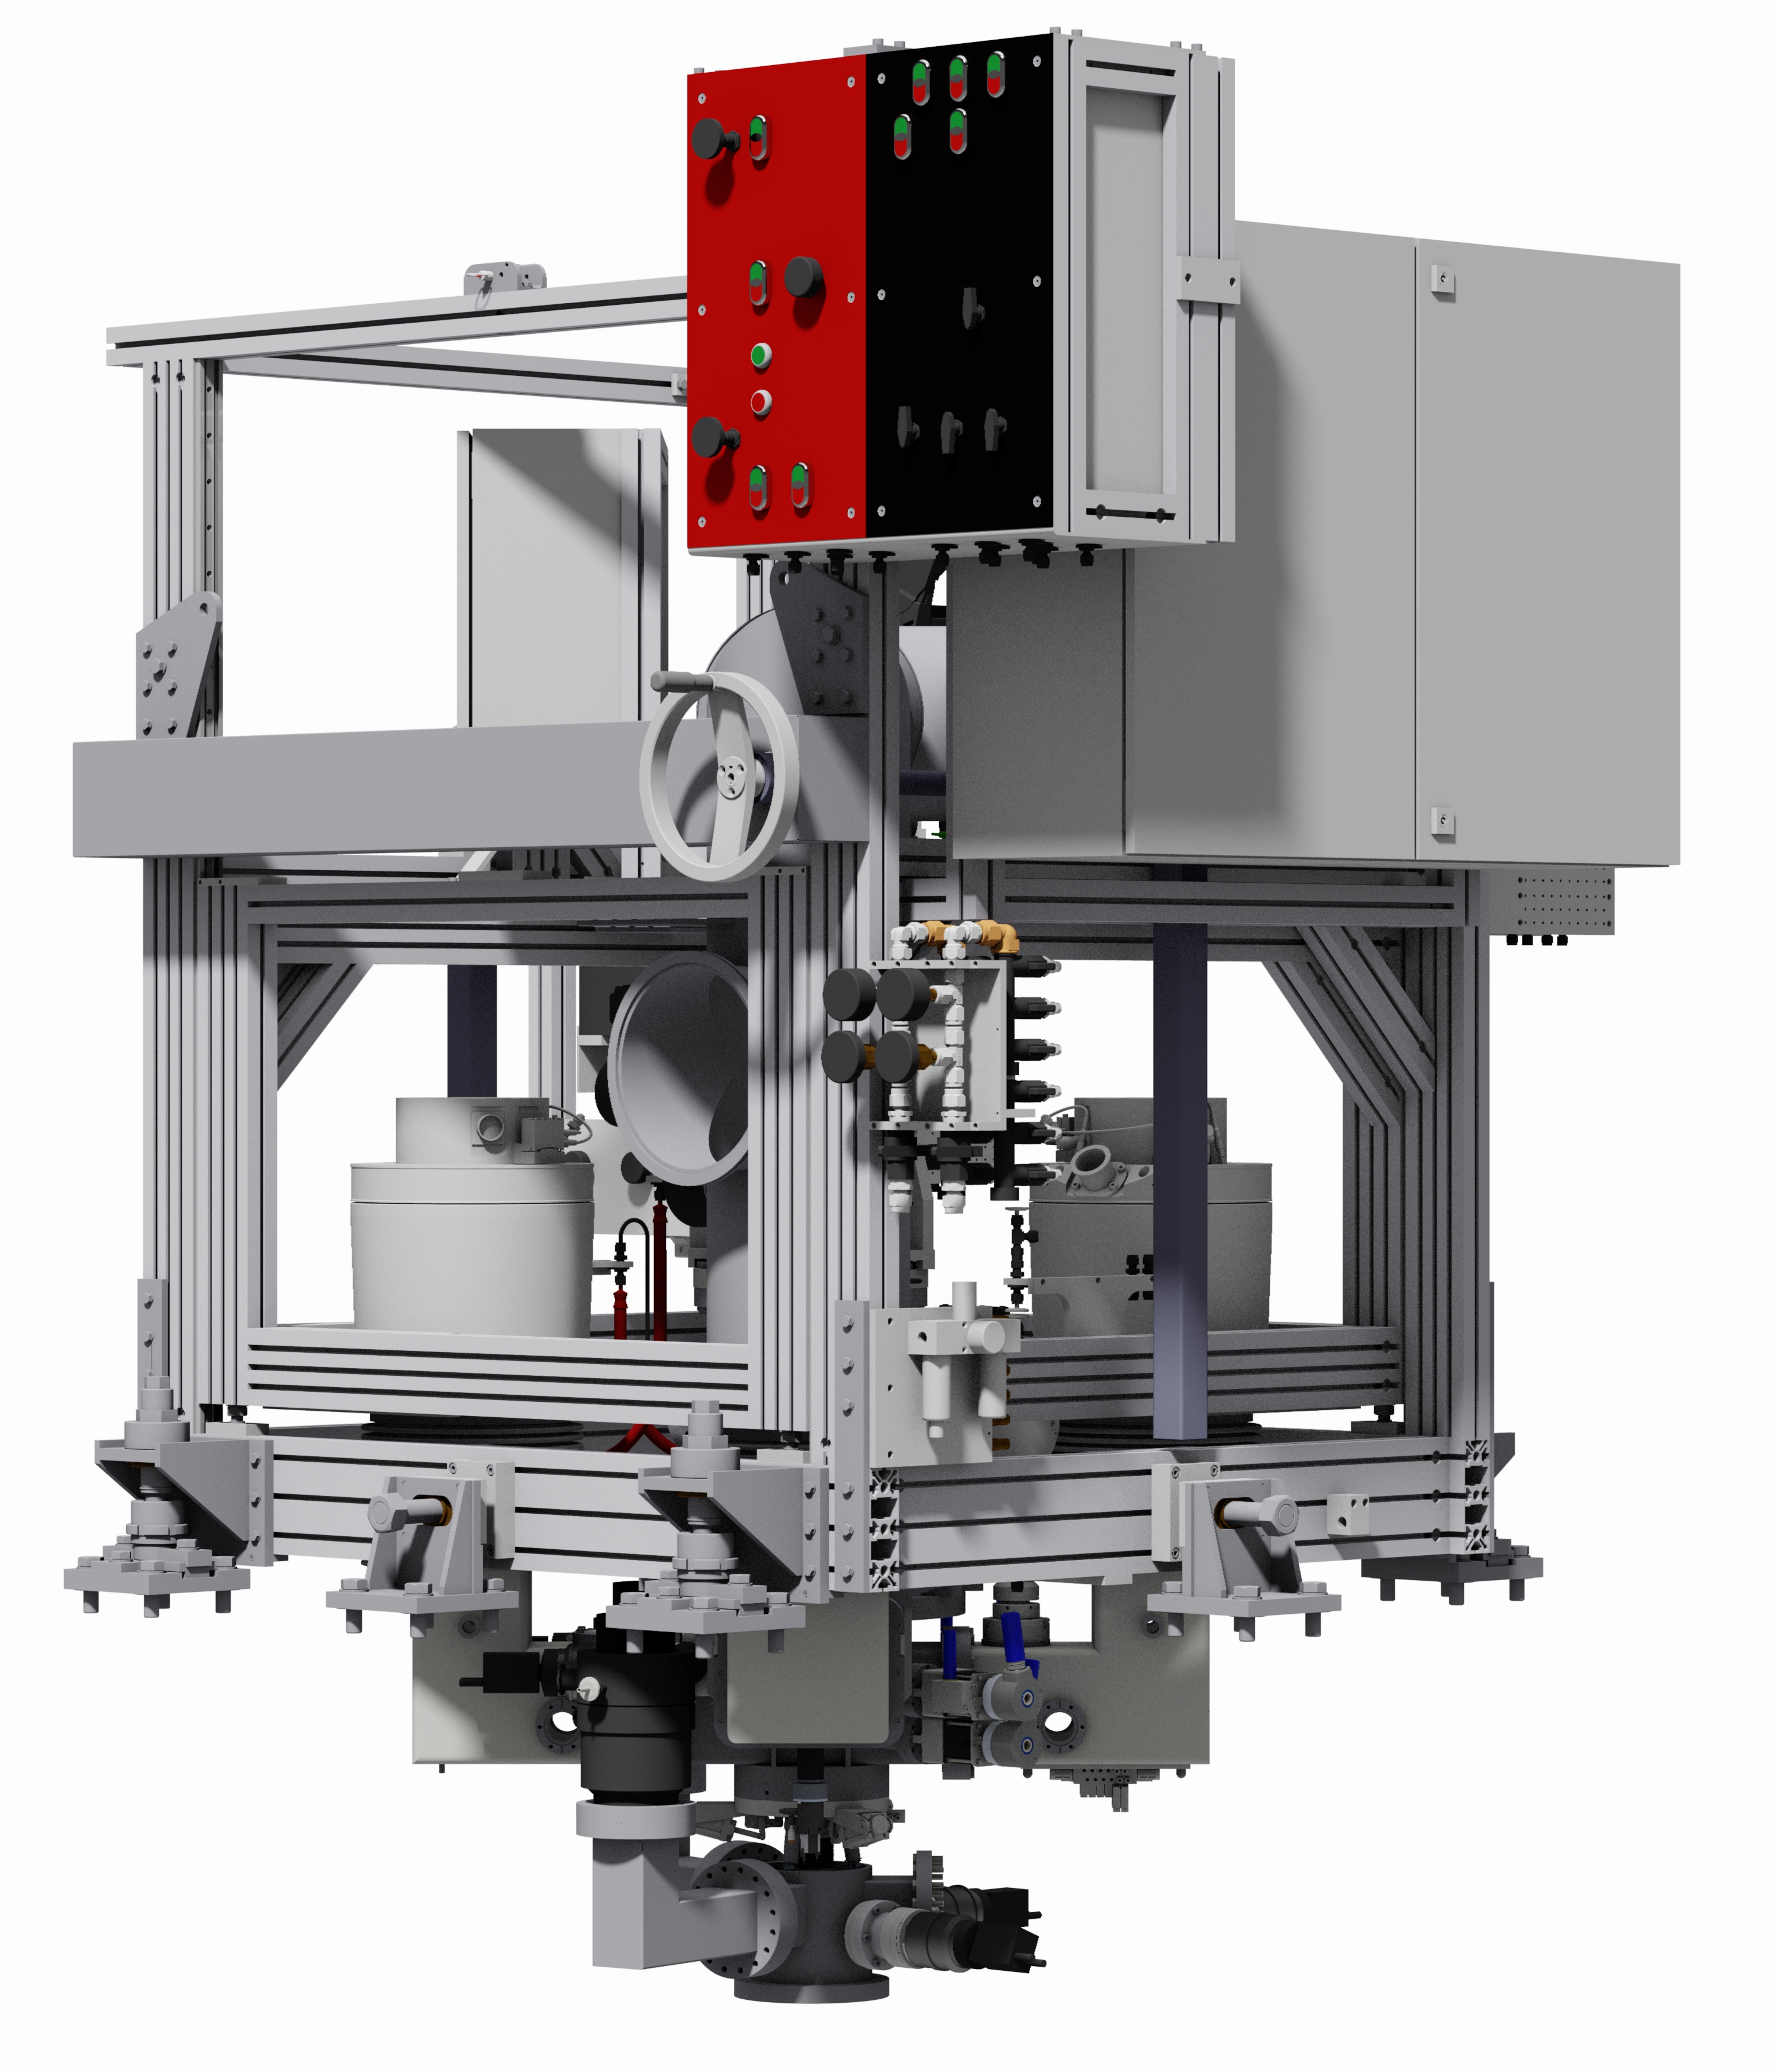
Cluster-Jet source in its support frame. |
 |
Snap connectors, connecting the cluster-jet source with the beamline at Münster. Beam direction top to bottom. |
Target/ClusterJetTarget Web Utilities
- WebTopicList - all topics in alphabetical order
- WebChanges - recent topic changes in this web
- WebNotify - subscribe to an e-mail alert sent when topics change
- WebRss, WebAtom - RSS and ATOM news feeds of topic changes
- WebPreferences - preferences of this web


Edit | Attach | Print version | History: r4 < r3 < r2 < r1 | Backlinks | View wiki text | Edit wiki text | More topic actions
Topic revision: r4 - 2017-03-07, BenjaminHetz
- Toolbox
-
 Create New Topic
-
 Index
Index
-
 Search
-
 Changes
-
 Notifications
-
 RSS Feed
-
 Statistics
-
 Preferences
- Webs
-
 Cerenkov
- Pandacerenkov
- DCS
- Daq
- Pandadaq
- Detector
- EMC
- EMPAnalysis
- Forwardstraws
- GEM
- MC
- Magnet
- Main
- Mvd
- PANDAMainz
- PWA
- Pbook
- Personalpages
- Physics
- Baryons
- CharmoniumAndExotics
- HadronsInNuclei
- OpenCharm
- PhysicsCmt
- SPC
- STT
- Sandbox
- ScrutinyGroup
- Tagpid
- Pandatagpid
- Tagtrk
- Pandatagtrk
- Target
- ClusterJetTarget
- Tof
- WebServices
- YoungScientists
- ZArchives
Copyright © by the contributing authors. All material on this collaboration platform is the property of the contributing authors.
Ideas, requests, problems regarding Panda Wiki Send feedback | Imprint | Privacy Policy (in German)
Ideas, requests, problems regarding Panda Wiki Send feedback | Imprint | Privacy Policy (in German)